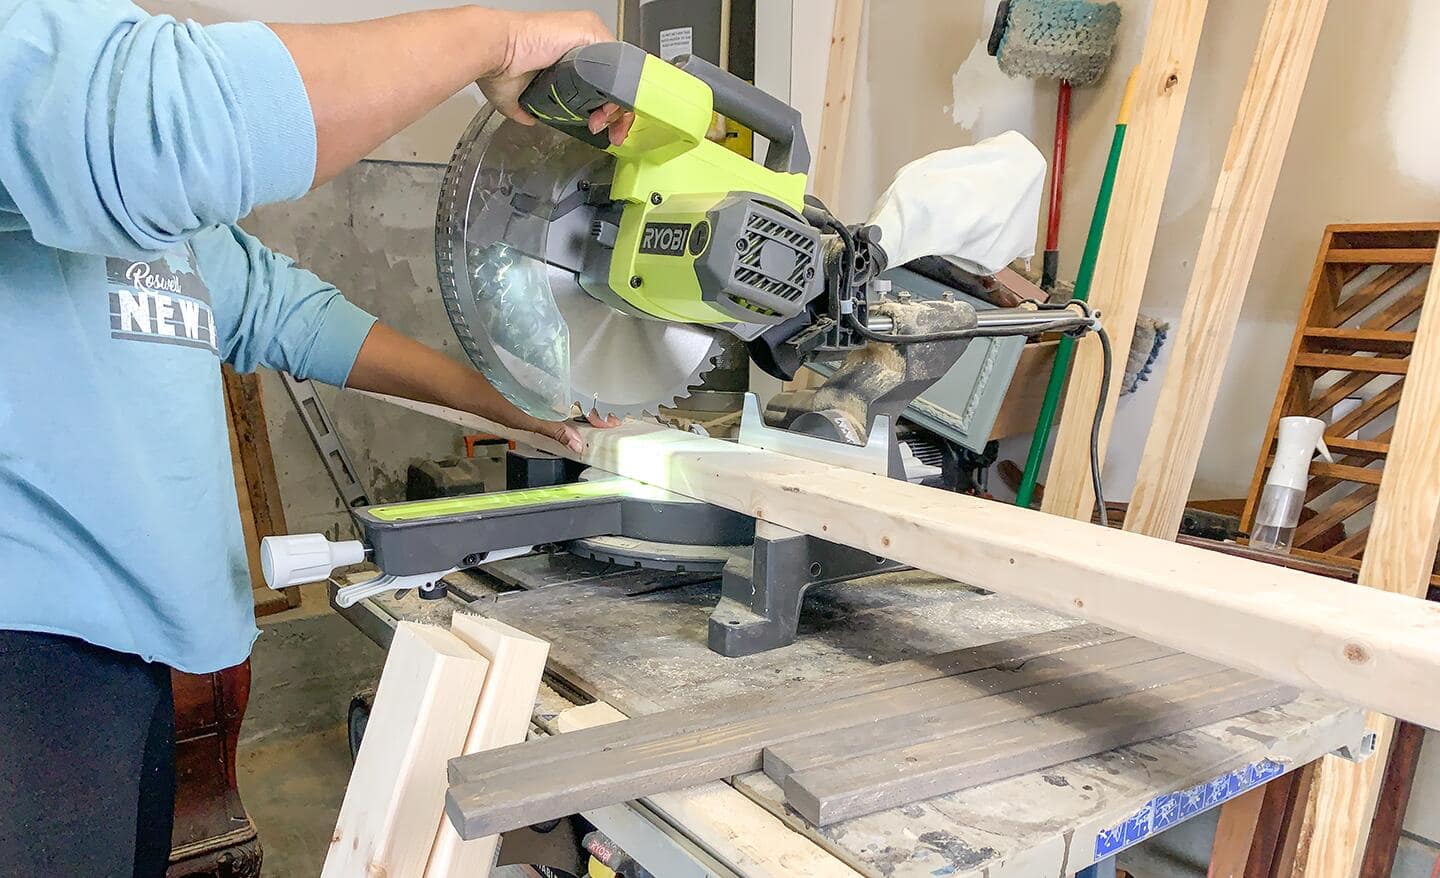
Imagine transforming a simple piece of wood into a masterpiece with just a few cuts. That’s the magic of using a miter saw.
Whether you’re a DIY enthusiast or a professional carpenter, mastering this tool can elevate your projects to a whole new level. But before you dive in, it’s crucial to understand how to use it effectively. Your safety and the quality of your work depend on it.
In this guide, you’ll discover step-by-step instructions that will make using a miter saw as easy as pie. Ready to unleash your inner craftsman? Let’s get started!

Credit: www.homedepot.com
Choosing The Right Miter Saw
Choosing the right miter saw can make a world of difference in your woodworking projects. Whether you’re crafting a simple picture frame or tackling a complex furniture piece, the miter saw is your trusty companion. But how do you choose the right one? Let’s dive into the types of miter saws and key features you should consider.
Types Of Miter Saws
Understanding the types of miter saws is crucial. There are mainly three types: standard, compound, and sliding compound miter saws. A standard miter saw is perfect for basic crosscuts. It’s often recommended for beginners due to its simplicity.
Compound miter saws offer a bit more versatility. They allow you to cut angles and bevels, making them ideal for more intricate designs. Imagine effortlessly cutting crown moldings with precision!
Sliding compound miter saws take it a step further with their sliding arm feature. This allows you to cut wider boards with ease. If you’re working with larger lumber or need that extra reach, this might be your best bet.
Features To Consider
When selecting a miter saw, consider the blade size. Larger blades can cut through bigger pieces, but they may be harder to control. Match the blade size to your project needs.
Think about the saw’s motor power. A powerful motor ensures smooth cuts, especially through dense materials. You don’t want your saw to stall in the middle of cutting hardwood, right?
Portability might be a factor if you’re moving your saw around. Look for compact designs if you’re short on space or need to transport it frequently. Will you need it at a job site or for home use?
Choosing the right miter saw isn’t just about features—it’s about aligning those features with your unique needs and projects. By considering the types and features, you can pick a saw that enhances your craftsmanship. What projects are you excited to tackle with your new miter saw?
Setting Up Your Miter Saw
Getting your miter saw ready is crucial for a smooth workflow. Proper setup ensures safety and precision in your projects. This guide will walk you through the essential steps.
Workspace Preparation
Choose a flat, stable surface for your miter saw. Ensure there’s ample space around the saw. This allows you to move materials easily. Avoid cluttered areas to prevent accidents. Good lighting is important for clear visibility. This helps you make accurate cuts.
Safety Precautions
Always wear safety goggles to protect your eyes. Ear protection is also important if the saw is loud. Secure the saw to the table to prevent movement. Check the blade for damage before using it. Ensure the blade guard is working properly. Keep your hands away from the blade during operation. Disconnect the saw when changing blades or making adjustments.
Understanding Miter Saw Components
Understanding miter saw components is key to safe and effective use. Each part of the saw plays a role in cutting accuracy. Familiarity with these components improves your skills and confidence.
Blade And Fence
The blade is the cutting tool of your miter saw. It spins at high speed to slice through materials. Blades come in various sizes and tooth counts. Choose the right blade for your specific task.
The fence supports your material during cutting. It ensures stability and straight cuts. Always check the fence alignment before starting. This prevents inaccurate cuts and ensures safety.
Bevel And Miter Scales
The bevel scale allows for angled cuts. Adjust the bevel for precise angles. This is useful for complex projects like crown molding.
The miter scale helps you make cross-cuts. It rotates to let you cut at different angles. Understanding these scales improves your cutting versatility.
Basic Cutting Techniques
When you’re starting out with a miter saw, understanding basic cutting techniques is crucial for achieving precise and clean cuts. These techniques are the foundation of your woodworking projects. Whether you’re crafting a picture frame or installing trim, mastering these cuts will make your work easier and more enjoyable.
Crosscuts
Crosscuts are one of the simplest yet most important techniques you’ll use. They involve cutting across the grain of the wood, allowing you to shorten boards to your desired length. Imagine you’re building a shelf and need exact measurements for each piece.
To perform a crosscut, securely place the wood against the saw’s fence. Ensure your fingers are out of harm’s way. Adjust the blade to a 90-degree angle for a straightforward cut. It’s all about precision; a slight error can throw off your entire project.
As you make the cut, keep a steady hand and let the saw do the work. Are you nervous about your first cut? That’s normal. It’s all part of learning, and practice will boost your confidence.
Miter Cuts
Miter cuts are your go-to for angled edges, perfect for creating corners and joints. Think of a picture frame or crown molding where two pieces meet at an angle. These cuts can transform a simple project into a professional-looking piece.
To make a miter cut, set the angle on your miter saw’s gauge. Common angles include 45 degrees, but your project might require something different. Place your wood firmly against the fence and align it with the blade at your chosen angle.
As the saw slices through, you’ll notice how the pieces fit together seamlessly, like a puzzle. Have you ever admired the precision of a well-made frame? That’s the magic of a good miter cut. It’s a skill worth mastering, and with practice, you’ll find your rhythm.
Remember, every cut you make is a step towards honing your craft. What will you create with your newfound skills?
Advanced Cutting Techniques
Advanced cutting techniques with a miter saw can enhance your woodworking projects. These techniques allow you to create precise and complex cuts. Understanding and mastering them will elevate your craftsmanship.
Bevel Cuts
Bevel cuts are angled cuts along the thickness of the material. Adjust the miter saw’s blade to tilt, creating the desired angle. Bevel cuts are used for projects like picture frames and door frames. They add a decorative edge or join pieces at an angle. Practice different angles to achieve the best results.
Compound Miter Cuts
Compound miter cuts combine both bevel and miter cuts. This technique is essential for crown molding and other intricate woodwork. Set the miter angle and bevel tilt on your saw. Ensure both are correct for your project. Compound cuts require careful measurement and adjustment. They deliver a precise fit for complex angles. Take your time to get everything right.
Maintenance And Care
Proper maintenance ensures the longevity of your miter saw. Clean the saw blade regularly to prevent rust. Lubricate moving parts for smooth operation.
Maintaining a miter saw ensures its longevity and optimal performance. Regular care helps prevent unexpected breakdowns and ensures smooth operation. Proper maintenance enhances safety and efficiency. It also saves money on repairs. Let’s explore essential steps for miter saw care.Blade Cleaning And Replacement
A clean blade cuts efficiently. Wipe it regularly with a damp cloth. This removes dust and debris. Inspect the blade for any damage. Replace it if worn out or chipped. A sharp blade gives precise cuts. It also reduces motor strain. Always use the right blade type for your material. This prevents unnecessary wear.Lubrication And Storage
Lubricate moving parts to keep them smooth. Use oil designed for saws. This prevents rust and friction. Ensure the saw is unplugged before lubricating. Store the saw in a dry place. Avoid damp areas. Cover it with a cloth or plastic. This protects it from dust and moisture. Proper storage extends the tool’s life.Troubleshooting Common Issues
Operating a miter saw can be tricky for beginners. Ensure proper blade alignment for accurate cuts. Check power and dust buildup if it stalls.
Troubleshooting common issues with your miter saw can be both frustrating and enlightening. Every woodworker, whether a novice or seasoned pro, encounters hiccups. It’s essential to know not just how to use the tool, but how to resolve problems that arise. Are you ready to tackle these challenges head-on?Inaccurate Cuts
Inaccurate cuts can be a real headache, especially when precision is key. You might notice your angles aren’t as sharp or your lengths vary more than you’d like. One common cause is a misaligned blade. Check that your blade is correctly aligned with the fence. If it’s off, realign it following the manufacturer’s instructions. Another reason could be the bevel gauge. Ensure it’s set accurately. A simple adjustment can save you from a pile of mismatched wood pieces. Have you ever considered the effect of a dull blade? It can lead to inaccuracies. Sharpen your blade regularly to maintain precision.Blade Binding
Blade binding can stall your project and test your patience. This issue often arises when the blade gets stuck in the wood, halting your progress. First, inspect the wood you’re cutting. If it’s warped or has knots, the blade may struggle to pass through smoothly. Choose straighter, cleaner pieces for a hassle-free cut. Your blade might also be the culprit. A dirty or dull blade can bind easily. Clean it thoroughly or replace it with a sharper one to avoid interruptions. Consider the speed and pressure you’re applying. Are you pushing too hard, or is your speed inconsistent? A steady, moderate pace can prevent binding and protect your saw. Have you faced these issues before? What tricks have you discovered that keep your miter saw running smoothly? Share your experiences and let others benefit from your insights!
Credit: www.youtube.com
Safety Tips And Best Practices
Using a miter saw requires careful attention to safety. Following best practices ensures your experience is smooth and accident-free. This section will guide you with essential safety tips and practices. By adopting these strategies, you can work confidently with your miter saw.
Proper Hand Placement
Always position your hands away from the saw blade. Keep them at least six inches from the blade. This reduces the risk of injury. Ensure your grip is firm but relaxed. Tense hands can lead to mistakes.
Use both hands for better control. One hand should hold the handle while the other supports the material. This provides stability and precision during the cut.
Using Clamps And Supports
Clamps help keep your materials steady. Secure the wood with clamps before cutting. This prevents it from moving unexpectedly. Ensure the clamps are tight but not over-tightened.
Use supports for longer pieces of wood. They prevent the wood from sagging or shifting. Proper support reduces strain on the saw and improves cut accuracy.
Check the supports regularly for stability. Adjust them if necessary to maintain alignment with the saw table.
Applications And Projects
When you think about miter saws, the first thing that might come to mind is precision. It’s a tool that can elevate your craftsmanship, whether you’re a DIY enthusiast or a professional carpenter. Understanding the diverse applications and projects you can tackle with a miter saw is crucial. This knowledge can transform your projects from ordinary to extraordinary. Let’s dive into some practical uses of miter saws that can empower you to create, build, and refine with confidence.
Diy Home Projects
Imagine transforming your living space with custom-made furniture or unique décor. With a miter saw, your DIY projects become more attainable. You can create stunning picture frames, build bespoke shelving units, or even design intricate trim work.
One summer, I decided to revamp my patio with a homemade wooden bench. The miter saw was my trusty sidekick, enabling perfect angled cuts for the joints. The result? A sturdy and stylish bench that became the talk of my neighborhood gatherings.
What home project have you been putting off? Perhaps a miter saw is the missing piece in your toolkit, ready to help you turn your vision into reality.
Professional Carpentry Uses
For those in the carpentry profession, a miter saw is indispensable. It offers precision that is hard to match, especially for detailed work like crown molding or baseboards. The ability to make accurate angled cuts saves time and enhances the quality of your work.
In my carpentry business, the miter saw is a staple for crafting custom cabinetry. Clients often appreciate the fine details that only a miter saw can provide. The tool’s versatility allows for creativity in design, making each project unique.
Are you leveraging your miter saw to its full potential in your carpentry work? It might be time to experiment with new techniques and broaden your project’s scope.
Understanding the applications of a miter saw isn’t just about mastering a tool; it’s about expanding your creative horizons. Whether you’re enhancing your home or elevating your professional work, the possibilities are endless.
Credit: www.homedepot.com
Frequently Asked Questions
What Are Two Rules When Using A Miter Saw?
1. Wear safety goggles to protect your eyes from debris. 2. Secure the material firmly before making any cuts to ensure accuracy and prevent accidents.
What Are The 31.6 And 22.5 Degrees For On My Miter Saw?
The 31. 6 and 22. 5 degrees on your miter saw are for cutting crown molding. These angles facilitate precise cuts for inside and outside corners, ensuring a perfect fit. Use the 31. 6-degree setting for the miter cut and 22.
5-degree for the bevel cut to achieve professional results.
What Is The Most Common Mistake People Make When Using A Miter Saw?
The most common mistake is not securing the material properly. This can lead to inaccurate cuts and potential safety hazards. Always ensure the material is clamped tightly before cutting to prevent movement. Additionally, failing to wear protective gear, like safety glasses, can increase the risk of injury.
Is A Miter Saw Easy To Use?
A miter saw is user-friendly for beginners. It requires basic safety precautions and practice to master. Follow the manual and use protective gear for safe operation. Many find it easy for precise cuts in woodworking.
Conclusion
Using a miter saw can seem tricky at first. But, with practice, it becomes easier. Remember to always prioritize safety. Wear goggles and keep your fingers clear. Understanding angles is key for precise cuts. Measure twice to ensure accuracy. With these tips, you can improve your skills over time.
Now, you’re ready to take on your next woodworking project. Keep practicing and soon, you’ll feel more confident. Happy cutting and stay safe!