Stripping paint or glaze from kitchen cabinets can completely change the look of your kitchen. Whether you want to refinish your cabinets with a fresh color or return them to their natural wood beauty, the process requires patience, the right tools, and some know-how.
Many homeowners feel overwhelmed by the idea of removing old finishes, but with a clear plan and smart techniques, you can achieve professional-looking results and save money compared to full cabinet replacement.
This guide gives you a complete overview of how to strip paint or glaze from kitchen cabinets. You’ll learn what supplies you need, how to choose the right stripping method, and all the steps involved. Plus, you’ll discover expert tips, common mistakes to avoid, and answers to the most frequent questions people ask about cabinet refinishing.
Why Strip Paint Or Glaze From Kitchen Cabinets?
Kitchen cabinets take up a lot of visual space. Over time, paint and glaze can chip, fade, or simply fall out of style. Stripping old finishes allows you to:
- Reveal the natural wood grain for a classic look
- Prepare cabinets for new paint or stain so it lasts longer
- Remove damaged or uneven layers that make surfaces look rough
- Save money compared to buying new cabinets
Many people also find that refinishing cabinets increases home value and makes their kitchen feel new again. If you want to customize your kitchen’s style, stripping is often the best way to start fresh.
Tools And Materials You’ll Need
Having the right supplies makes the job faster and safer. Here’s what you’ll need for most cabinet stripping projects:
- Paint stripper (gel or liquid)
- Protective gloves (chemical-resistant)
- Safety goggles and a mask
- Plastic drop cloths or old sheets
- Painter’s tape
- Scrapers (plastic or metal)
- Steel wool (fine grade)
- Sandpaper (various grits: 80, 120, 220)
- Bucket of water or mineral spirits
- Rags or shop towels
- Screwdriver (for hardware removal)
- Buckets for cleaning
- Small paintbrush (for applying stripper to corners)
- Soft brush (for dust removal)
- Respirator (for heavy-duty chemical use)
- Putty knife
Some people use a heat gun for stubborn finishes, but this is optional. Always read the safety instructions for any chemical product.
Understanding Types Of Cabinet Finishes
Before you start, identify the finish on your cabinets. This helps you choose the best stripping method.
| Finish Type | Typical Appearance | Removal Difficulty |
|---|---|---|
| Paint | Opaque, covers wood grain | Medium to High |
| Glaze | Thin, tinted layer over stain | Low to Medium |
| Varnish/Lacquer | Clear or amber, glossy finish | High |
| Stain Only | Colored, shows wood grain | Low |
Paint is usually the hardest to remove, especially if there are multiple layers. Glaze is thinner and often comes off with light sanding or a mild stripper. Varnish and lacquer need stronger chemicals or more sanding.
Preparing Your Workspace
Proper prep saves time and keeps your home safe.
- Clear the kitchen. Remove all items from cabinets and counters.
- Ventilate. Open windows and use fans. Chemical fumes can be strong.
- Protect surfaces. Lay plastic drop cloths on floors and counters.
- Remove cabinet doors and hardware. Unscrew doors, handles, and hinges. Number each door and its hardware with painter’s tape to make reassembly easy.
- Label everything. Mark where each door belongs. This prevents confusion later.
- Clean surfaces. Wipe cabinets with a damp rag to remove dust and grease.
Many beginners forget to label doors and hardware, which makes reinstallation tricky. Always mark each piece as you remove it.
Choosing The Right Stripping Method
There are three main ways to strip paint or glaze from cabinets. Each has pros and cons.
| Method | Best For | Time Required | Safety Level |
|---|---|---|---|
| Chemical Stripper | Thick paint, varnish | Fast (30–60 min per coat) | Needs gloves, mask, ventilation |
| Heat Gun | Stubborn layers, no chemicals | Medium (slower, more control) | Burn risk, needs care |
| Manual Sanding | Light glaze, prep work | Slow (1–2 hrs per door) | Low risk, dusty |
- Chemical strippers are most common because they work fast, especially for detailed trim.
- Heat guns are useful for thick, stubborn paint but can scorch wood if not used carefully.
- Sanding is safest but slowest. Best for thin finishes or after using chemicals.
Many people use a mix of methods for the best result.
Step-by-step Process For Stripping Cabinets
1. Remove Cabinet Doors, Drawers, And Hardware
Take off all doors, drawer fronts, and hardware. Keep screws and handles in labeled bags. This prevents loss and confusion later.
2. Apply Paint Or Glaze Stripper
- Stir the stripper (do not shake) and pour it into a metal or glass container.
- With a small brush, spread a thick, even layer over the cabinet surface. Work in sections.
- Let the stripper sit. Most products need 15–30 minutes, but check the label.
- The finish will bubble and lift when ready.
Tip: Always test the stripper on a small, hidden area first. Some cabinets use special finishes that react differently.
3. Scrape Off Old Finish
- Use a plastic scraper or putty knife to gently remove the bubbled paint or glaze.
- Wipe the scraper clean often.
- For corners and grooves, use a small brush or steel wool dipped in stripper.
- Repeat if necessary for thick layers.
Never scrape too hard. This can gouge the wood underneath.
4. Clean Residue
- Wipe the stripped surface with a rag dipped in water or mineral spirits, depending on the stripper used.
- Remove all sticky residue. This step is important for new finishes to stick later.
- Allow the cabinets to dry completely (at least 24 hours).
5. Sand Smooth
- Sand all surfaces with 120-grit paper, then finish with 220-grit for a smooth touch.
- Sand by hand for detailed areas.
- Remove dust with a soft brush or vacuum.
6. Inspect And Repeat If Needed
Some cabinets need a second application of stripper, especially if there are many layers of paint or glaze. Don’t rush. Each layer removed makes the final finish better.
7. Repair And Prep For Refinishing
- Fill any dents or holes with wood filler. Let dry and sand flush.
- Wipe surfaces with a tack cloth to remove all dust.
- Your cabinets are now ready for new paint, stain, or clear finish.

Credit: www.bobvila.com
Tips For Best Results
- Always work in a well-ventilated area.
- Wear protective gloves and a mask when using chemicals.
- Use plastic scrapers to avoid scratching wood.
- Don’t let stripper dry on the surface. Remove it as soon as bubbling stops.
- Clean up spills right away to avoid damage to floors or countertops.
- Plan for drying time. Rushing to refinish before the wood is dry leads to poor results.
A common mistake is skipping the cleaning step. Even a small amount of residue can ruin your new finish.
Common Problems And How To Fix Them
Sticky residue won’t come off: Use more mineral spirits or water, depending on your stripper. Scrub with fine steel wool.
Wood looks rough after stripping: Sand with fine paper (220-grit) to restore smoothness.
Paint/glaze remains in grooves: Reapply stripper with a small brush or use a detail sander.
Damage to wood surface: Fill small gouges with wood filler and sand smooth before refinishing.
Uneven color after stripping: Natural wood can be blotchy. A pre-stain wood conditioner helps if you plan to stain.
Safety Precautions
- Read all labels on chemical products before use.
- Wear eye protection and chemical-resistant gloves.
- Never mix different strippers or cleaners.
- Store chemicals away from children and pets.
- Dispose of used rags and stripper according to local regulations.
- If you feel dizzy or unwell, move to fresh air immediately.
For more detailed safety information, the OSHA Chemical Hazards resource is useful.
When To Call A Professional
While most homeowners can strip cabinets with patience, some situations need expert help:
- Lead-based paint (common in homes before 1978)
- Large kitchens with many cabinets
- Water-damaged or warped wood
- High-value antique cabinets
Professionals have stronger tools and safety training. If you have doubts, get a quote before starting.
How Long Does The Process Take?
Stripping cabinets is not a quick weekend job. Here’s a rough timeline for an average kitchen (10–12 doors):
- Prep and removal: 1–2 hours
- Stripping and scraping: 3–5 hours (may need two rounds)
- Cleaning and sanding: 2–3 hours
- Drying time: 1 day (minimum)
Total time: 1–2 full days, plus drying. Plan for extra time if your cabinets have heavy paint buildup.
Cost Comparison: Stripping Vs. Replacing Cabinets
Stripping old paint is almost always cheaper than buying new cabinets.
| Option | Average Cost (10×10 kitchen) | Result |
|---|---|---|
| Strip and Refinish | $200–$400 (DIY) | Like-new cabinets |
| New Cabinets | $4,000–$10,000+ | Entire replacement |
| Cabinet Refacing | $1,000–$3,000 | New doors/veneers only |
If your cabinets are solid wood and in good shape, stripping and refinishing gives you the best value.
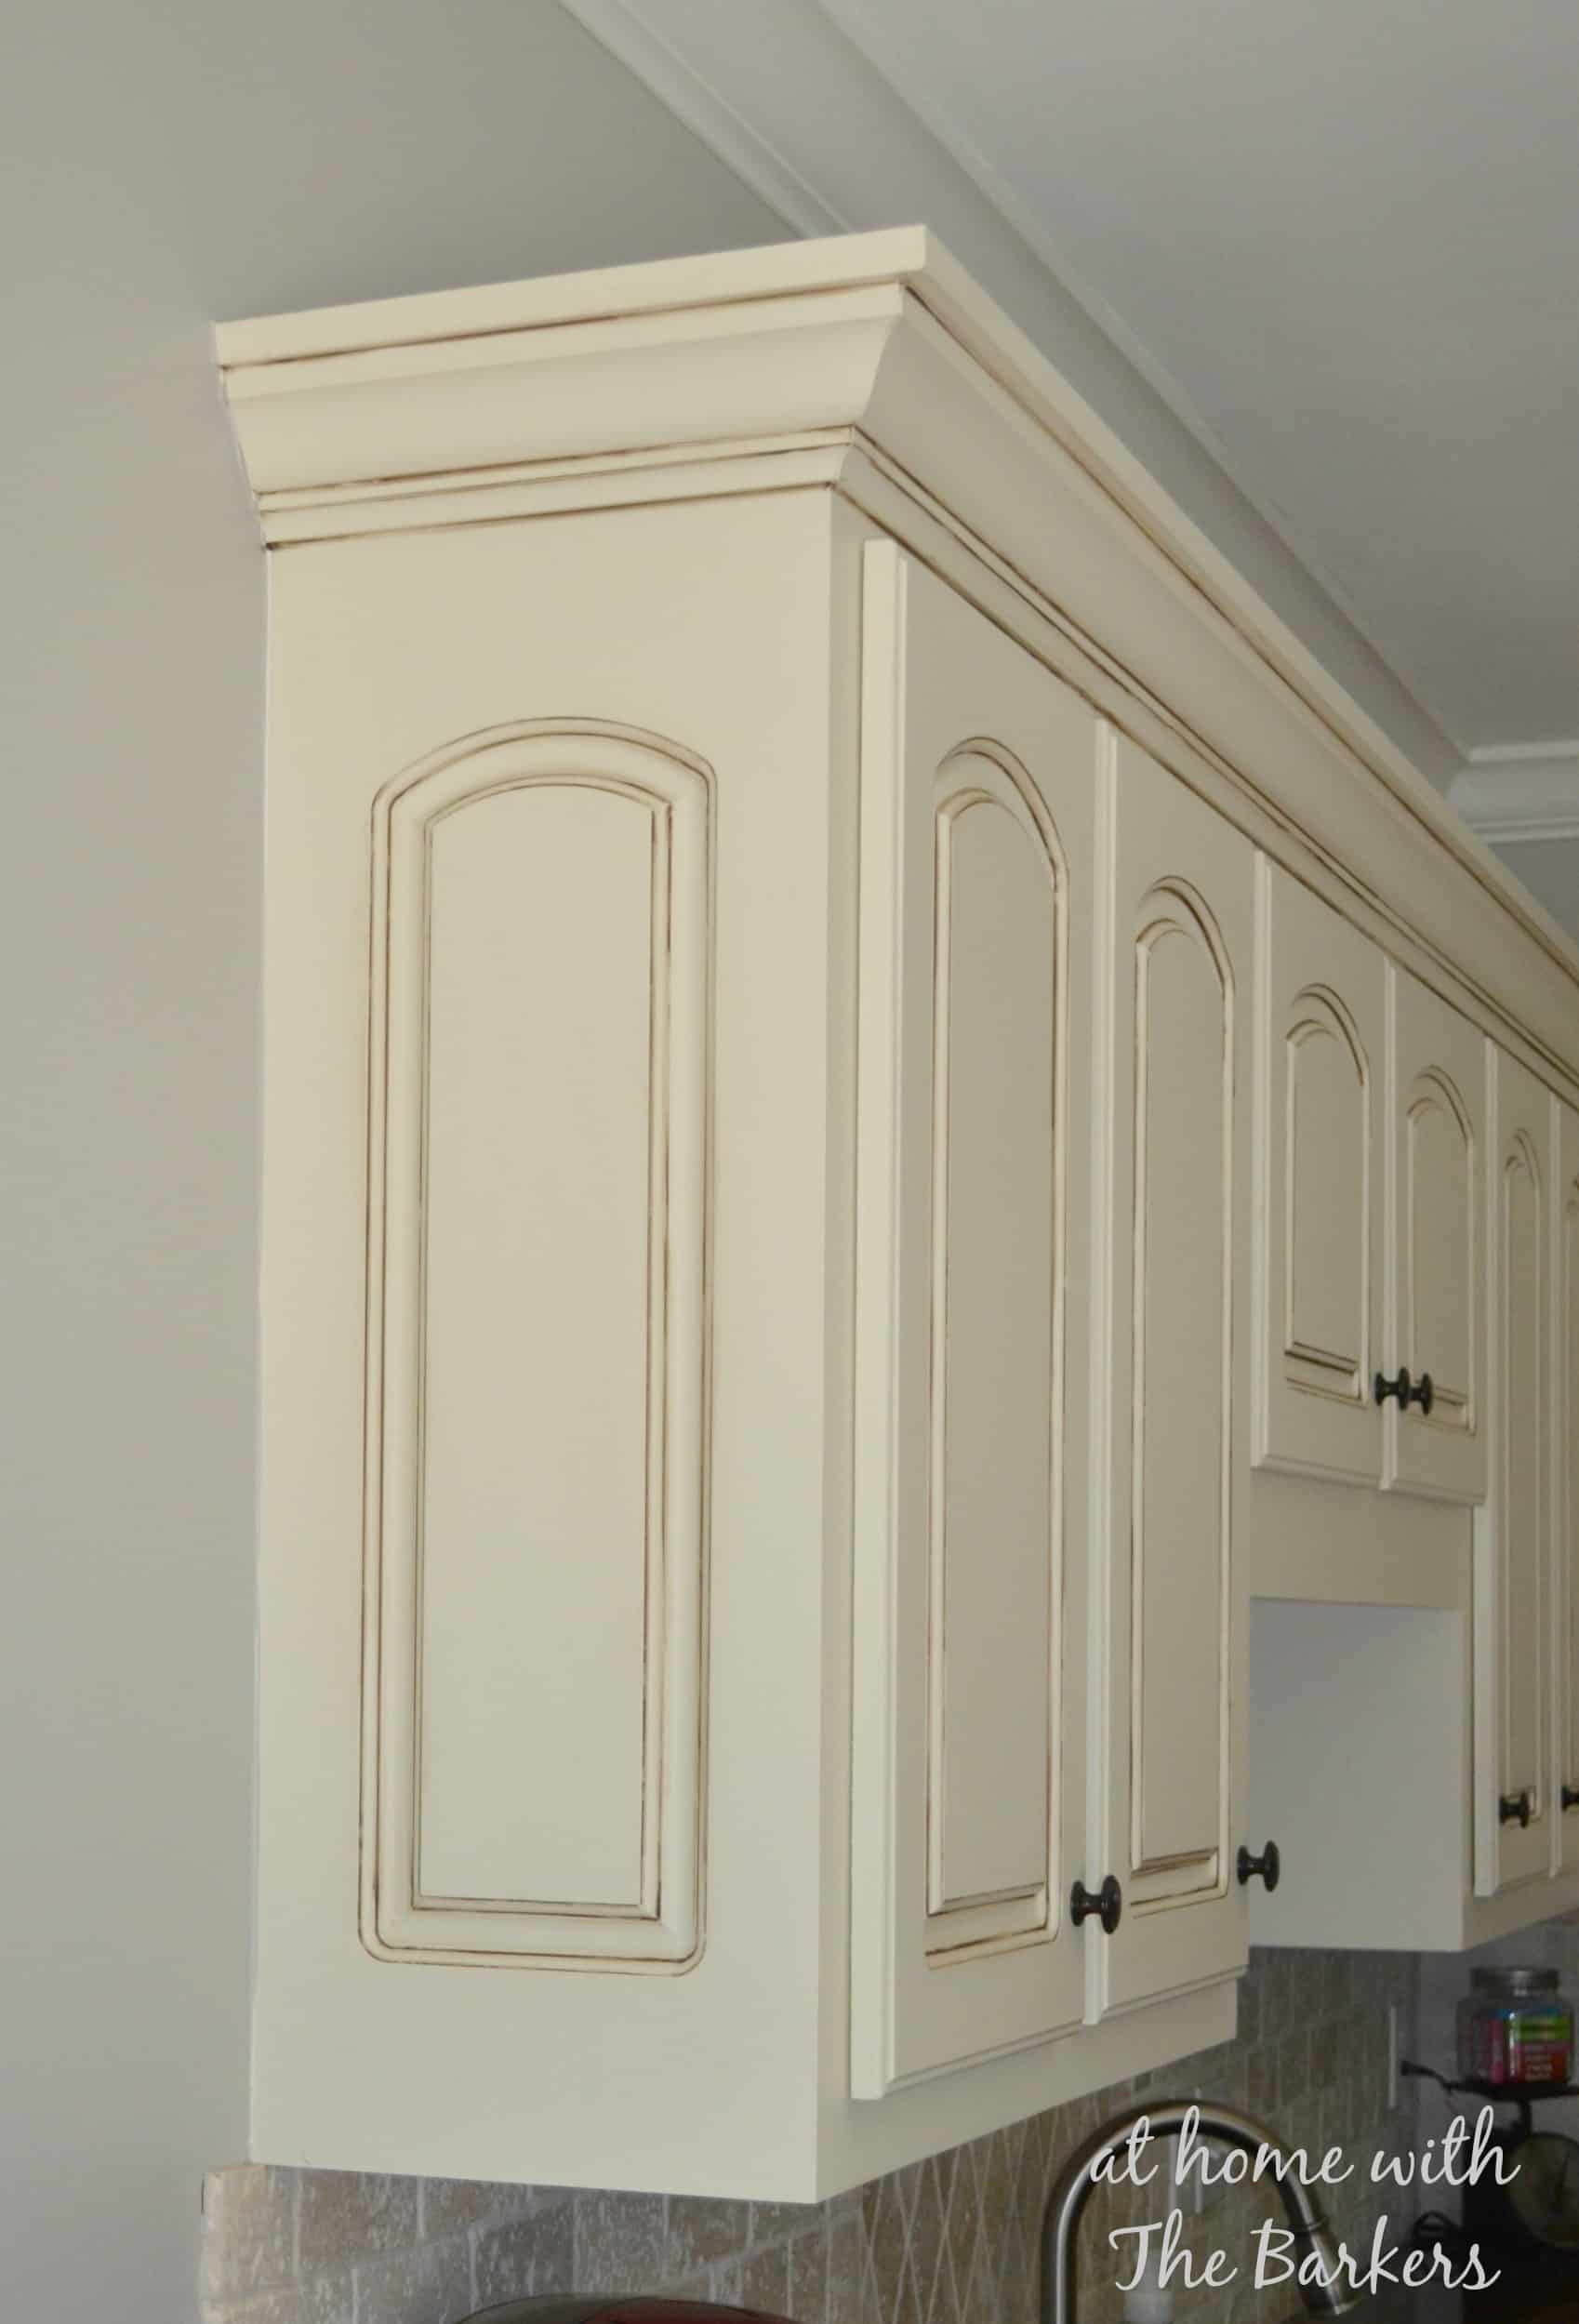
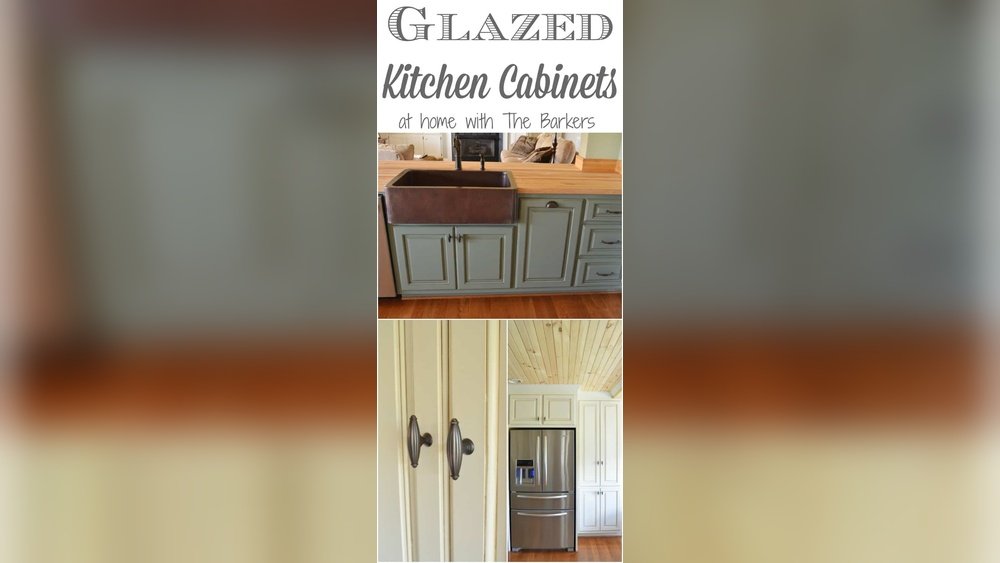
Credit: athomewiththebarkers.com
Mistakes To Avoid
- Skipping the test patch: Always test the stripper on a hidden spot.
- Rushing drying times: Cabinets must be dry before new finish.
- Not removing hardware: Paint or stripper on handles is hard to fix.
- Using metal scrapers too aggressively: This can gouge wood.
- Ignoring safety gear: Chemical burns and fumes are real risks.
A non-obvious tip: Old glaze can sometimes be removed with just hot water and gentle scrubbing, especially if it’s worn thin. Try this before using harsh chemicals.
Frequently Asked Questions
How Do I Know If My Cabinets Have Lead Paint?
If your home was built before 1978, there’s a higher chance of lead paint. Purchase a lead test kit from a hardware store and follow the instructions. If lead is present, hire a certified professional for safe removal.
Can I Use A Natural Or Eco-friendly Stripper?
Yes, some products use citrus or soy-based formulas. These are less harsh but may take longer or require more applications. Always check that the product is compatible with your cabinet’s finish.
Do I Need To Strip All The Old Finish Before Repainting?
For the best result, yes. Stripping gives a smooth, even surface for new paint or stain. If you only rough up the old finish, the result may not last as long and can chip.
What’s The Difference Between Glaze And Paint?
Paint is a solid layer that hides wood grain. Glaze is a thin, tinted wash applied over stain to highlight details. Glaze is usually easier to remove.
How Do I Avoid Brush Marks When Refinishing?
After stripping, sand well and use a high-quality brush or foam roller for new paint or stain. Apply thin, even coats and let each layer dry fully before adding more.
Stripping paint or glaze from kitchen cabinets can seem like a big job, but with the right tools and a patient approach, you can achieve beautiful, long-lasting results. Always put safety first, follow each step carefully, and enjoy the satisfaction of a fresh kitchen transformation.

Credit: www.reddit.com