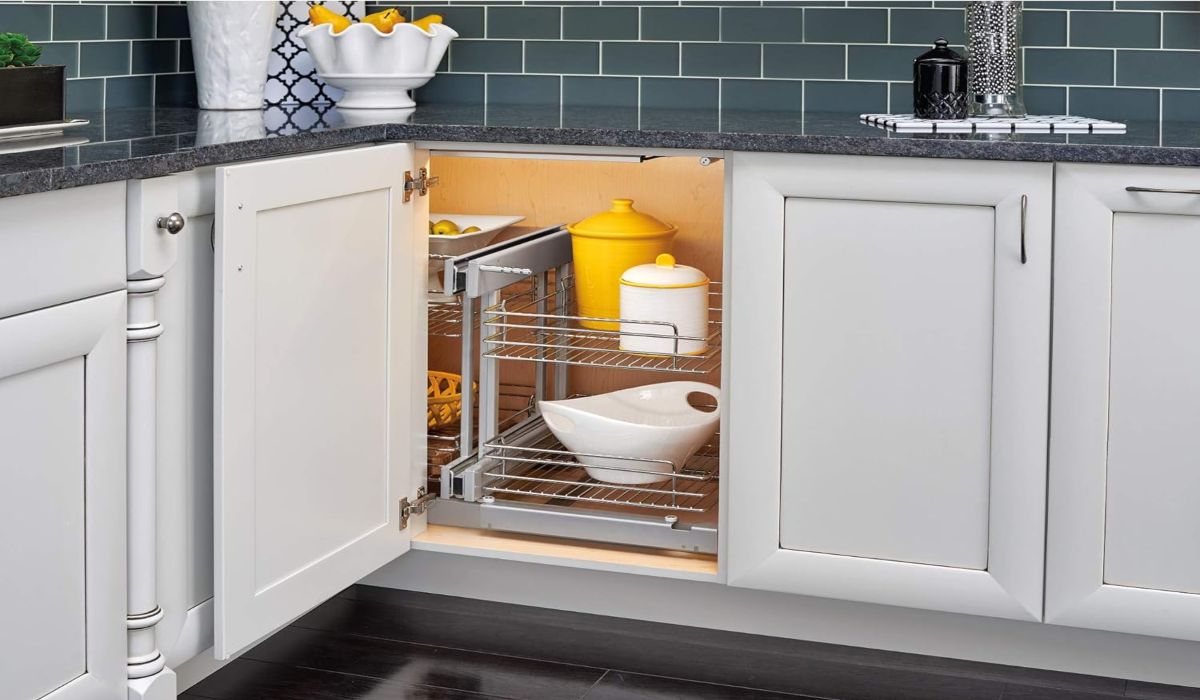
Are your kitchen cabinets hiding more clutter than convenience? Blind corner cabinets often become a black hole where pots, pans, and gadgets get lost.
But what if you could transform that awkward space into a smart, easily accessible organizer—without spending a fortune or calling in a pro? In this guide, you’ll learn how to custom build your own blind corner cabinet organizer that fits perfectly in your kitchen.
Imagine opening that cabinet and finding everything right at your fingertips, saving you time and frustration every day. Ready to reclaim your kitchen space? Let’s dive into a simple, step-by-step DIY solution tailored just for you.
Credit: fittedbedroomwardrobes.com
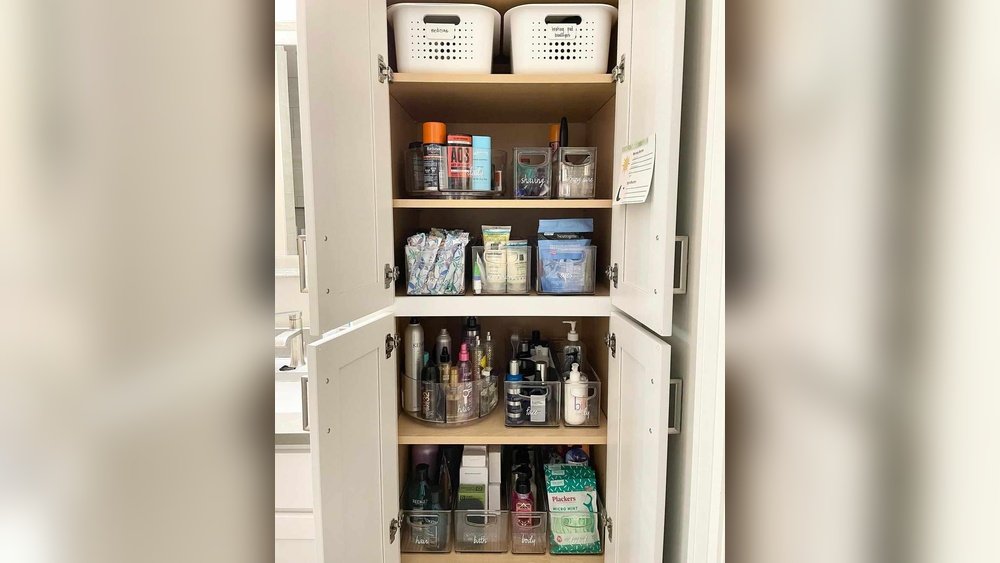
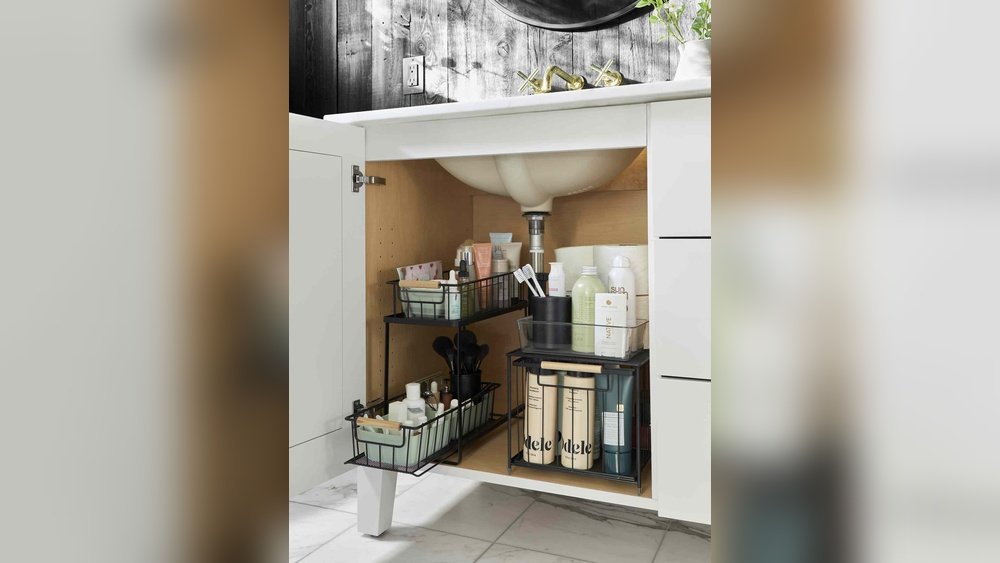
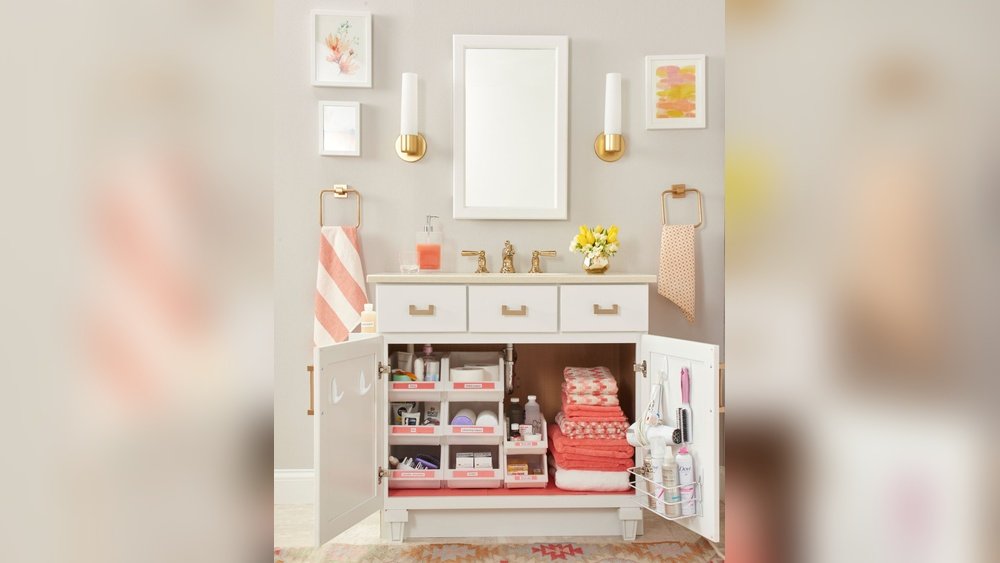
Benefits Of Custom Blind Corner Organizers
Custom blind corner organizers offer practical solutions for kitchen storage challenges. They transform awkward, hard-to-reach spaces into useful areas. These organizers help keep your kitchen tidy and functional. Building one yourself adds a personal touch and fits your needs perfectly.
Maximizing Kitchen Space
Blind corner cabinets often waste valuable space. Custom organizers use every inch efficiently. Shelves, pull-outs, or trays slide out smoothly. This design creates more storage without enlarging the kitchen. You gain space for pots, pans, and other items. This makes your kitchen feel larger and less cluttered.
Improving Accessibility
Reaching items in corner cabinets can be difficult. Custom organizers bring contents to you. Pull-out shelves and rotating trays make access easy. No more bending or searching in dark corners. This saves time and effort during cooking. Everything stays visible and within reach.
Cost-effective Solutions
Custom organizers cost less than buying new cabinets. Using affordable materials keeps expenses low. DIY projects avoid labor fees and markups. You can tailor the design to your budget. This approach provides smart storage without overspending. It also adds value to your kitchen.

Credit: blog.kitchenmagic.com
Measuring Your Blind Corner Cabinet
Measuring your blind corner cabinet is the first step to creating a custom organizer that fits perfectly. Accurate measurements ensure the organizer uses every inch of space. Blind corner cabinets have tricky shapes, so careful measuring is crucial. Taking your time here saves frustration later and helps you build a useful storage solution.
Tools Needed
Gather a tape measure, pencil, and notepad to record numbers. A flashlight helps see deep inside the cabinet. A level can check if surfaces are even. Use a square tool to verify corners. These simple tools make measuring easier and more precise.
Key Dimensions To Record
Measure the cabinet width at both the front and back. Note the depth from the cabinet door to the back wall. Check the height from the base to the top inside. Measure the opening size and note any obstructions like pipes or shelves. Record all numbers clearly for reference.
Common Cabinet Sizes
Blind corner cabinets often come in standard sizes like 36 or 42 inches wide. Depths usually range between 24 and 30 inches. Heights vary but often match other base cabinets, around 34.5 inches. Knowing common sizes helps plan your organizer’s dimensions effectively.
Materials And Tools For Diy Organizer
Choosing the right materials and tools is key to building a custom blind corner cabinet organizer. Proper supplies ensure the project is sturdy and fits well. This section covers the types of wood, hardware, and tools needed for a smooth DIY build.
Types Of Wood And Hardware
Use plywood or hardwood for strong cabinet shelves. Birch and maple are popular hardwood choices. Plywood is cost-effective and easy to work with. Choose smooth, sanded wood for a clean finish.
For hardware, get quality drawer slides or pull-out tracks. Soft-close slides improve usability and reduce noise. Use sturdy screws and hinges designed for cabinet use. Brackets or metal supports help keep shelves stable.
Essential Tools List
Start with a circular saw or table saw for cutting wood pieces. A drill with drill bits is needed for screws and pilot holes. Use a screwdriver or power driver to fasten hardware. A tape measure and square help with precise measurements.
A sander or sandpaper smooths rough edges. Clamps hold pieces in place while assembling. Safety gear like goggles and gloves protects during cutting and drilling. A pencil and level ensure straight lines and balanced shelves.
Optional Accessories
Add soft-close dampers for quiet closing of pull-outs. Installing handles or knobs makes access easier. Use edge banding tape to cover plywood edges for a polished look. Felt pads under shelves reduce noise and protect surfaces.
LED strip lights can brighten the cabinet interior. Decorative molding or trim adds a custom touch. These extras enhance function and style but are not required for basic builds.
Designing The Organizer Layout
Designing the organizer layout is key to making blind corner cabinets practical. These cabinets often have hard-to-reach spaces that waste storage potential. A well-planned layout improves access and keeps items organized. Choosing the right mechanism depends on your needs and cabinet size. Each option offers unique benefits to maximize space and ease of use.
Pull-out Shelves And Trays
Pull-out shelves slide out smoothly, giving full access to items at the back. They work well in deep cabinets where reaching inside is difficult. Installing trays on these shelves helps keep smaller items neat and visible. This system uses the cabinet depth efficiently and reduces clutter. Pull-out shelves suit kitchens with heavy usage and frequent access needs.
Swing-out Mechanisms
Swing-out mechanisms pivot shelves or baskets out of the cabinet. They make corner spaces easier to reach without bending or stretching. This design keeps items visible and accessible at all times. Swing-out organizers often include multiple tiers for better sorting. Their compact motion fits well in tight kitchen spaces.
Built-in Drawers
Built-in drawers inside corner cabinets add organized storage with easy pull-out access. They act like regular drawers but fit the corner shape. These drawers let you store pots, pans, and other bulky items neatly. Dividers inside drawers help separate and secure kitchen tools. Built-in drawers create a clean look and improve cabinet usability.
Step-by-step Building Process
Building a custom blind corner cabinet organizer can transform your kitchen storage. The process breaks down into clear, manageable steps. Each step focuses on creating a sturdy, functional organizer that fits your space perfectly. Follow along with this step-by-step guide to build your own DIY kitchen cabinet organizer.
Assembling The Cabinet Box
Start by cutting the panels for the cabinet box. Use plywood or MDF for strength. Join the sides, top, and bottom using wood glue and screws. Ensure corners are square with a carpenter’s square. Sand edges smooth to avoid splinters. This forms the main structure of your blind corner cabinet.
Adding Front Panels And Face Frames
Cut front panels to cover the cabinet opening. Attach face frames using wood glue and clamps. The face frames provide a clean, finished look. They also add rigidity to the cabinet box. Sand all surfaces before painting or staining to ensure a smooth finish.
Installing Drawer Framing And Slides
Measure the inside width of the cabinet for drawer framing. Build drawer frames from solid wood or plywood strips. Attach metal drawer slides to the frames and inside cabinet walls. Make sure slides are level for smooth drawer movement. Test fit the slides before final assembly.
Constructing And Mounting Drawers
Build drawers to fit inside the frames using sturdy materials. Assemble drawer boxes with glue and nails or screws. Attach drawer fronts to match the cabinet style. Mount drawers onto the slides carefully. Check each drawer for smooth operation and adjust if needed.
Finishing Touches And Supports
Add supports inside the cabinet for extra stability. Use corner braces or wooden cleats at stress points. Apply paint or finish to protect wood surfaces. Install handles or knobs on drawers for easy access. Finally, secure the cabinet in place within the kitchen corner.
Installation Tips And Tricks
Installing a custom blind corner cabinet organizer requires care and precision. Following practical tips ensures a smooth setup and lasting function. This section shares key installation advice to help you achieve the best results.
Ensuring Smooth Movement
Check all sliding parts before installation. Clean tracks and rollers to prevent sticking. Use light oil or silicone spray on moving components. Test the mechanism several times to confirm smooth operation. Avoid forcing shelves or trays during installation. Proper alignment reduces wear and improves ease of use.
Adjusting For Cabinet Irregularities
Measure your cabinet interior carefully. Look for uneven walls or floors inside the cabinet. Use shims to level the base if needed. Trim or sand any parts that do not fit well. Adjust mounting brackets to match cabinet contours. Custom fitting ensures the organizer works perfectly in your space.
Securing Components Safely
Use the right screws and hardware provided. Drill pilot holes to avoid wood splitting. Tighten fasteners firmly but do not overtighten. Check that all parts are stable and do not wobble. Secure moving parts with safety stops if available. A safe installation prevents damage and injury in daily use.
Maintaining Your Organizer
Maintaining your custom blind corner cabinet organizer keeps it working smoothly and extends its life. Regular care prevents damage and ensures easy access to your kitchen items. Simple steps help your organizer stay clean and functional.
Cleaning Tips
Remove all items before cleaning. Use a soft cloth and mild soap. Avoid harsh chemicals that damage surfaces. Clean sliding tracks carefully to remove dust and crumbs. Wipe dry with a clean cloth to prevent moisture buildup.
Lubricating Slides
Apply lubricant to the sliding tracks every few months. Use a silicone-based spray for smooth movement. Avoid oil-based lubricants that attract dirt. Wipe off excess lubricant to keep the tracks clean. Test the slides to ensure easy operation after lubrication.
Troubleshooting Common Issues
Check for loose screws and tighten them regularly. If the slide is stuck, clean and lubricate the tracks. Align shelves properly to prevent jamming. Replace damaged parts promptly to avoid bigger problems. Keep an eye on wear and tear for early fixes.

Credit: too-much-time.com
Alternative Space-saving Ideas
Maximizing storage in blind corner cabinets can be tricky. Alternative space-saving ideas help use this awkward space efficiently. These options improve access and keep your kitchen tidy. They also work well for DIY kitchen cabinet projects.
Lazy Susans
Lazy Susans are rotating trays that fit inside corner cabinets. They spin easily to reach items at the back. This design makes good use of deep corners. Installing a Lazy Susan lets you see and grab spices, jars, or cans quickly.
Tiered Racks
Tiered racks stack storage vertically inside the cabinet. They create several levels to hold plates, bowls, or pantry items. This setup keeps things visible and organized. Tiered racks are simple to build and fit most corner spaces well.
Modular Storage Bins
Modular storage bins are small containers that fit together inside the cabinet. They keep utensils, snacks, or cleaning supplies sorted. You can rearrange or remove bins as needed. Modular bins help maintain order in tight corner spaces without custom carpentry.
Frequently Asked Questions
How To Organize Blind Corner Cabinets?
Organize blind corner cabinets with pull-out shelves, sliding trays, or swing-out organizers. These maximize space and improve accessibility.
How Much Space Do You Need For A Blind Corner Cabinet?
A blind corner cabinet requires at least 36 inches of wall space on each adjoining wall. Depth typically matches standard base cabinets, around 24 inches. This space ensures easy access and effective storage in kitchen corners.
How To Make A Corner Cabinet Functional?
Install pull-out shelves, sliding trays, or swing-out organizers to access and maximize corner cabinet space efficiently.
How To Make Use Of A Blind Corner Cabinet?
Use pull-out shelves, sliding trays, or swing-out organizers to access and maximize blind corner cabinet space easily and efficiently.
Conclusion
Customizing your blind corner cabinet organizer can greatly improve kitchen storage. Simple DIY steps help you use space efficiently. You gain easy access to hard-to-reach items without clutter. This project saves money and adds personal touch to your kitchen. Small changes make a big difference in daily cooking.
Start your DIY organizer today and enjoy a tidier kitchen.