DIY home improvement is one of the most satisfying ways to refresh your living space. With the right tools, even beginners can tackle repairs, upgrades, and creative projects. But walking into a hardware store can be overwhelming—so many gadgets, so many brands, and prices that range from cheap to eye-watering.
How do you know which tools are truly essential? And which ones will actually make your projects easier, safer, and more successful?
This guide is for anyone who wants to start or improve their DIY journey. We’ll explore the core tools every homeowner should own, talk about advanced options for those ready to expand, and share tips on choosing, using, and caring for your tools.
By the end, you’ll know exactly what you need to get the job done—and how to avoid common mistakes that waste time or money.
Why The Right Diy Tools Matter
It’s easy to think you can do everything with a hammer, a screwdriver, and a bit of creativity. But the truth is, using the right tool makes a huge difference in results. The proper tools:
- Save time by making tasks easier and faster
- Reduce mistakes and the risk of damaging your home
- Improve safety for you and your family
- Increase confidence to try bigger or more complex projects
For example, using a power drill for assembly is much faster than twisting screws by hand. A quality level helps you hang shelves straight, so they don’t end up crooked or wobbly. Even basic repairs—like fixing a leaky faucet or patching a wall—go more smoothly with the correct equipment.
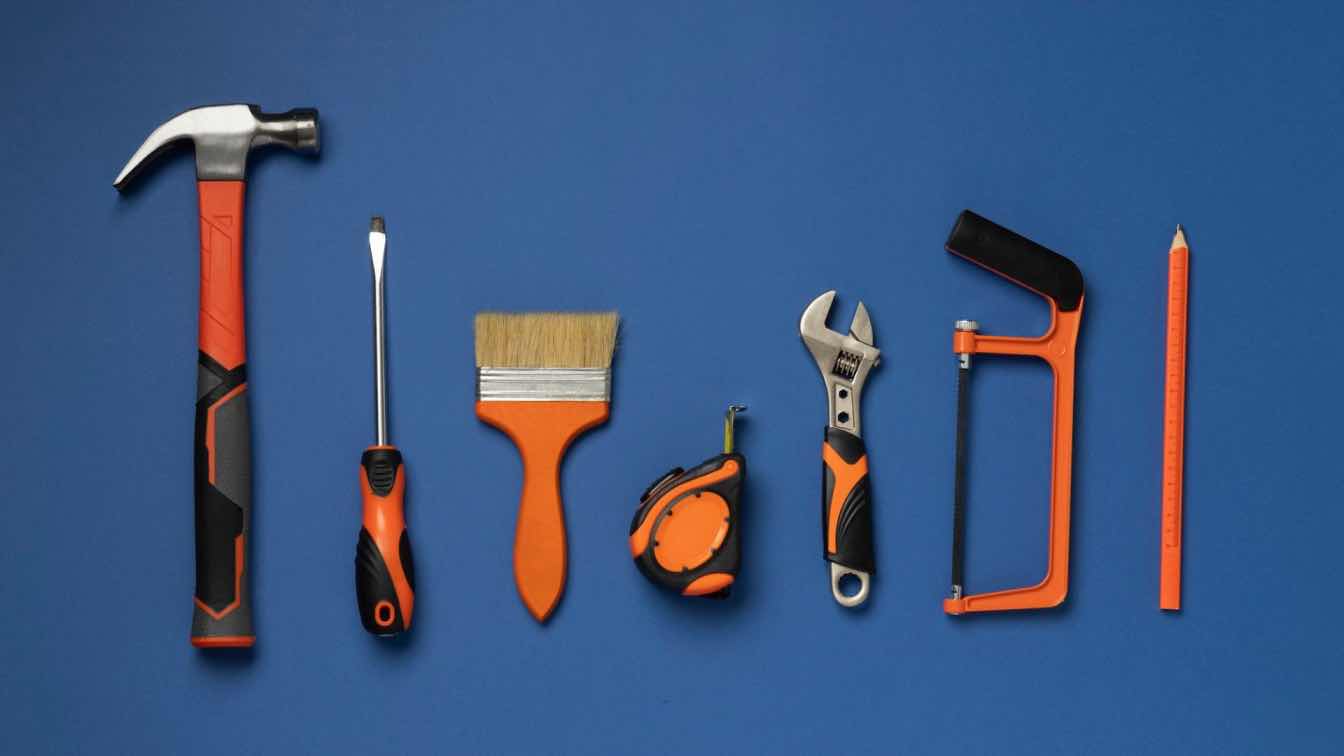
The Core Diy Home Improvement Tools
Every homeowner or renter should have a core set of tools. These are the basics you’ll reach for again and again, whether you’re hanging pictures, assembling furniture, or fixing minor problems.
1. Claw Hammer
The claw hammer is a classic for a reason. It drives in nails, pulls them out, and can even help with light demolition. Look for a hammer with a comfortable grip and a balanced weight (16–20 ounces is ideal for most people). Avoid hammers that feel top-heavy or have a loose head.
2. Screwdriver Set
A good screwdriver set will handle most common screws in your home. At minimum, you need both flat-head and Phillips-head sizes. Many sets include multiple handle lengths and interchangeable tips, which save space in your toolbox. Magnetic tips are a bonus—they hold screws steady while you work.
3. Tape Measure
Accurate measurements are the foundation of almost every home improvement project. The standard tape measure for DIY use is 25 feet (7.5 meters). Choose one with a locking feature and clear, easy-to-read markings. Metal tapes are more durable than plastic.
4. Utility Knife
A sharp utility knife is useful for cutting carpet, opening boxes, trimming wallpaper, and more. Retractable blades are safer and last longer. Keep extra blades on hand and replace them as soon as they get dull—dull blades are actually more dangerous than sharp ones.
5. Adjustable Wrench
Plumbing repairs, furniture assembly, and even some electrical jobs require an adjustable wrench. This tool adapts to different nut and bolt sizes. Choose one that opens wide enough for most household tasks (about 8 inches is a good starting size).
6. Pliers (needle Nose And Slip Joint)
Pliers give you a strong grip for twisting, pulling, or bending materials. Needle nose pliers are perfect for tight spaces and electrical work, while slip joint pliers can adjust to grip larger objects. Both types are useful, but if you must choose one, start with slip joint.
7. Level
A spirit level or bubble level helps you make sure things are straight—shelves, pictures, cabinets, and tiles. A 24-inch level covers most needs, but smaller torpedo levels are handy for tight spots.
8. Power Drill And Drill Bits
A cordless power drill is one of the best investments you can make. It drills holes in wood, metal, or plastic, and doubles as a fast screwdriver. Look for a drill with at least 12 volts of power, two batteries, and a set of drill bits and driver bits.
9. Stud Finder
Finding wall studs is important for safely hanging heavy objects. A stud finder uses sensors to detect wood or metal behind drywall. Electronic models are more accurate than magnetic ones.
10. Handsaw
Sometimes, you need to make a quick cut, and a handsaw is faster and simpler than setting up a power tool. For general home use, a crosscut saw with medium teeth is a versatile choice.
11. Allen (hex) Keys
Many modern furniture pieces use Allen (hex) bolts. A set of hex keys (metric and imperial sizes) is vital for assembly and occasional repairs. Folding sets keep the keys together and are less likely to get lost.
12. Putty Knife
A putty knife spreads spackle, scrapes off old paint, and helps with many wall and surface repairs. Look for a flexible, stainless steel blade about 2 inches wide.
13. Safety Gear
Don’t forget safety goggles, work gloves, and ear protection. Even small jobs can create flying debris, sharp edges, or loud noises. Safety gear is often ignored by beginners, but it’s critical for avoiding injuries.
14. Flashlight Or Headlamp
Good lighting is essential for working in dark corners, under sinks, or during power outages. A LED flashlight or headlamp keeps your hands free and your work area visible.
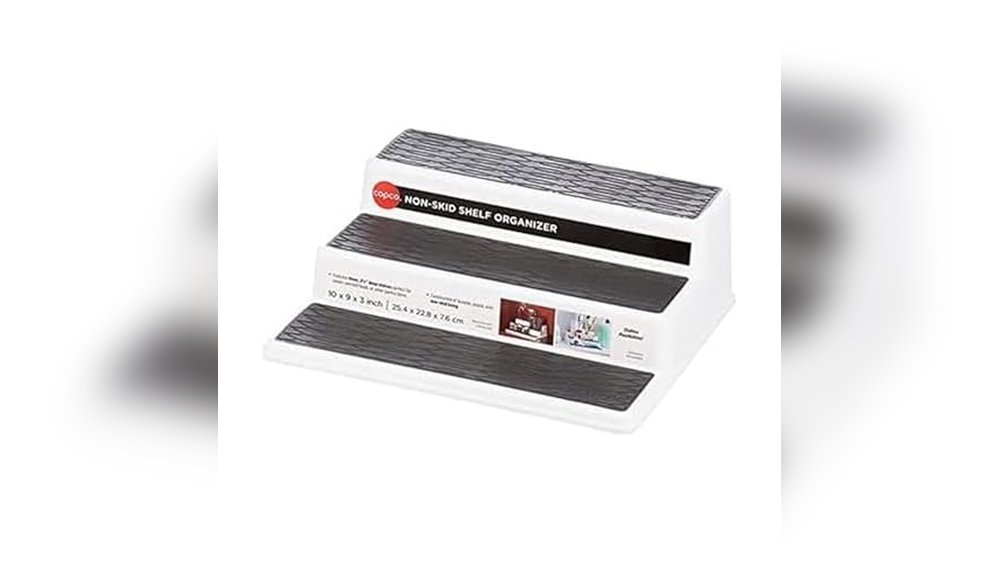
15. Tool Box Or Organizer
A tool box keeps your collection together and easy to carry. Choose a size that fits your tools but isn’t too heavy. Modular organizers are great for separating screws, nails, and small parts.
Credit: mazzconst.com
Expanding Your Diy Tool Kit
Once you’ve mastered the basics, there are many ways to upgrade your tool collection. Advanced tools save time on bigger projects and open the door to new skills.
Power Tools For Serious Diyers
- Circular Saw: Cuts wood, plywood, and some plastics quickly and accurately. Perfect for building shelves, decks, or framing.
- Jigsaw: Follows curves and tight corners in wood or metal. Great for creative projects or detailed cuts.
- Orbital Sander: Smooths wood, paint, or drywall patches much faster than sanding by hand.
- Oscillating Multi-Tool: Accepts many attachments for cutting, sanding, scraping, and more—especially useful in awkward spaces.
Here is a simple comparison of basic vs. advanced tools for typical home projects:
| Project | Basic Tool | Advanced Tool |
|---|---|---|
| Build a bookshelf | Handsaw, Hammer | Circular Saw, Power Drill |
| Sand a door | Sandpaper | Orbital Sander |
| Install lighting | Flathead Screwdriver | Voltage Tester, Wire Stripper |
Specialty Tools For Unique Jobs
- Stud Sensor with Deep Scan: Finds pipes and wires, not just studs.
- Laser Level: Projects straight lines across rooms—perfect for tiling or wallpapering.
- Voltage Tester: Checks if wires are live before you start electrical work.
- Pipe Wrench: Opens stuck plumbing connections.
It’s tempting to buy every new gadget, but start with what you need for your next project. Borrow or rent specialty tools you’ll use only once or twice.
How To Choose Quality Tools
Not all tools are created equal. Cheap tools can break, slip, or even cause injury. On the other hand, the most expensive brand isn’t always necessary. Here’s how to pick tools that last:
- Check the Material: Tools made from forged steel or chrome vanadium resist bending and rusting.
- Test the Grip: Hold the tool in your hand. It should feel balanced and comfortable, with no sharp edges.
- Read Reviews: Online reviews or DIY forums often share real-world experiences with different brands.
- Look for Guarantees: Many quality tools come with a lifetime warranty. This is a good sign of durability.
For power tools, battery life and compatibility matter. Many brands use the same battery system for different tools—this can save money in the long run.
Here is a table showing the differences between low-cost and high-quality tools:
| Feature | Low-Cost Tool | High-Quality Tool |
|---|---|---|
| Material | Basic steel, plastic | Forged steel, reinforced plastic |
| Grip | Slippery, uncomfortable | Ergonomic, non-slip |
| Warranty | 6 months to 1 year | Lifetime |
| Accuracy | May slip or strip easily | Holds up under heavy use |
Tips For Storing And Maintaining Your Tools
Even the best tools won’t last without proper care. Here are some tips to keep them working well for years:
- Clean after use: Wipe off dirt, sawdust, or grease. Moisture can cause rust.
- Store in a dry place: Avoid leaving tools in damp basements or garages.
- Oil moving parts: Tools like pliers and wrenches need a drop of oil to prevent sticking.
- Sharpen blades: Dull blades are dangerous and do poor work.
- Replace worn parts: Screws, bits, or batteries wear out faster than the tool itself—replace them as needed.
A common mistake is to leave tools scattered around after a project. This leads to lost tools, damaged parts, or even injuries. Get in the habit of putting everything back in your tool box or organizer.
Mistakes Beginners Make (and How To Avoid Them)
Starting with DIY often means making a few errors. Here are some mistakes many beginners don’t realize until it’s too late:
Buying Cheap, Unreliable Tools
It’s tempting to buy the cheapest set, but poor-quality tools can strip screws, break under pressure, or even cause injuries. Spend a little more on your most-used tools—you’ll save money and frustration in the long run.
Forgetting Safety Gear
Many new DIYers skip gloves and goggles because they “don’t look cool” or “it’s just a small job.” But even quick projects can send debris flying or expose you to sharp edges. Always protect yourself.
Using The Wrong Tool For The Job
Trying to use a knife instead of a saw, or pliers instead of a wrench, often leads to damaged materials or broken tools. If you’re not sure which tool to use, look up instructions or ask at your local hardware store.
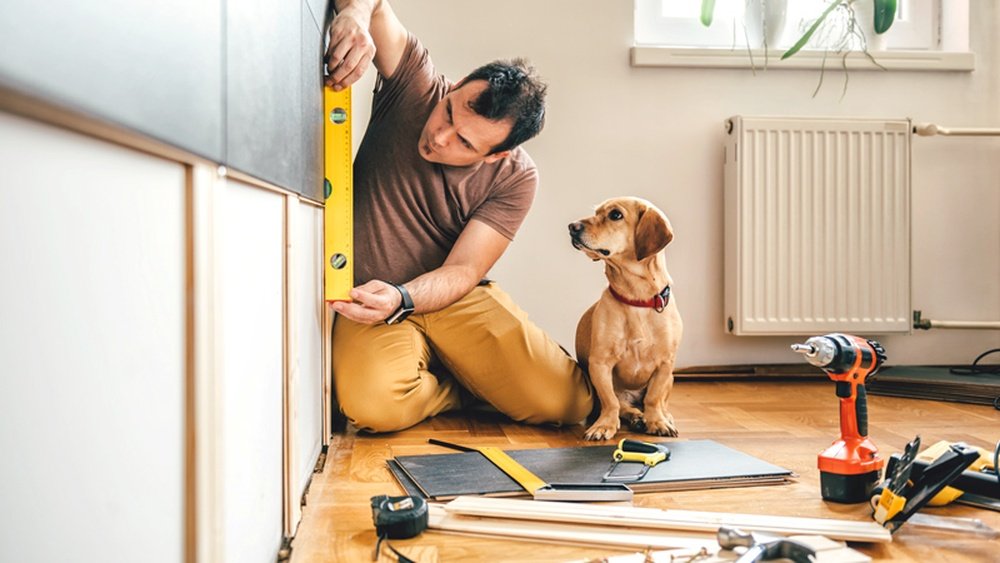
Not Measuring Properly
“Measure twice, cut once” is a saying for a reason. Many beginners rush measurements, leading to wasted materials and uneven results. Take your time with the tape measure and double-check before making cuts or holes.
Overlooking Maintenance
Neglecting to clean or oil your tools after use is a silent killer. Rusty or sticky tools are harder to use and more likely to fail. Make tool care part of your regular cleanup.
Credit: amazingarchitecture.com
Real-world Example: Setting Up A Basic Home Tool Kit
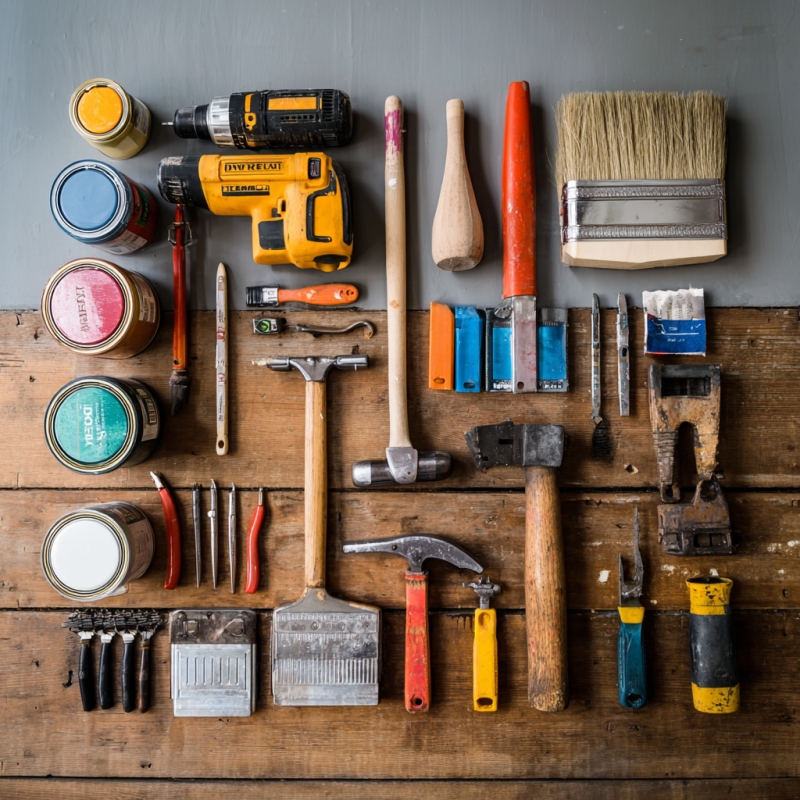
Let’s say you just moved into a new apartment. You want to hang shelves, fix a leaky faucet, and assemble a bed. Here’s a starter kit that covers almost everything:
- Claw hammer
- Screwdriver set (with both Phillips and flat-head)
- Tape measure
- Utility knife
- Adjustable wrench
- Slip joint pliers
- Level
- Cordless power drill (with bits)
- Allen keys
- Putty knife
- Safety goggles and gloves
- Flashlight
- Tool box
With these, you can handle most minor repairs, furniture assembly, and decoration projects. As you gain experience, you can add specialty tools for bigger jobs.
How Tool Technology Is Changing Diy
Modern DIY tools are smarter and safer than ever. Here are a few trends beginners often overlook:
- Cordless tools: New lithium-ion batteries last longer, charge faster, and work with multiple tools.
- Digital levels and measuring tools: These give instant, highly accurate readings and even store measurements.
- Multi-tools: One tool with many attachments saves space and money.
- Bluetooth-enabled devices: Some drills and measuring tools connect to apps for tracking projects and settings.
These options can seem expensive, but they save time and often pay for themselves if you use them often.
Choosing Tools For Specific Projects
Sometimes you need to pick tools for a particular task. Here is a quick reference for some common home improvement jobs:
| Project | Recommended Tools | Common Mistake |
|---|---|---|
| Hanging shelves | Drill, level, stud finder, screwdriver | Not using a level or missing the studs |
| Fixing a leaky faucet | Adjustable wrench, pliers, flashlight | Using pliers that are too small or lack grip |
| Patching drywall | Putty knife, utility knife, sanding block | Forgetting to sand after patching |
| Painting a room | Roller, brush, drop cloth, putty knife | Skipping surface prep or using cheap brushes |
Saving Money On Tools
DIY can save you hundreds or even thousands of dollars on home repairs, but tools are an upfront cost. Here are some tips for stretching your budget:
- Buy used: Many quality tools are available second-hand at garage sales or online marketplaces.
- Borrow or rent: For tools you’ll use only once, borrowing from friends or renting from hardware stores is smart.
- Watch for sales: Many stores offer discounts around holidays or during spring home improvement season.
- Stick to the basics: Start with essential tools and add more as you need them—don’t buy the biggest set right away.
Remember, it’s better to own a few solid tools you use often than a huge set of cheap ones that sit unused.
Credit: blog.rismedia.com
Going Beyond The Basics: Building Skills
Having the right tools is only half the equation. Learning how to use them safely and effectively turns you from a “tool owner” into a “DIYer.” Here are two non-obvious ways to build your skills:
- Practice on scrap materials: Before cutting a real shelf or drilling into your wall, practice on leftover wood or drywall. This helps you understand how the tool feels and behaves.
- Watch project-specific tutorials: Instead of general tool videos, search for instructions on your exact task (e.g., “installing a floating shelf”). You’ll see the tools in action and pick up useful tricks.
If you want more in-depth knowledge, websites like Family Handyman offer trusted reviews and how-to guides.
Frequently Asked Questions
What Are The Absolute Essentials For A Beginner’s Diy Tool Kit?
Start with a claw hammer, screwdriver set, tape measure, utility knife, adjustable wrench, pliers, level, and a tool box. These cover most simple repairs and projects around the home. Safety gear like goggles and gloves is also important.
How Can I Tell If A Tool Is Good Quality?
Check the material (forged steel or chrome vanadium is best), hold it in your hand for comfort, and look for a strong warranty. Read reviews online and avoid tools that feel light, flimsy, or have loose parts.
Should I Buy Cordless Or Corded Power Tools?
For most home users, cordless tools are more convenient—no need for outlets or extension cords. Modern batteries last longer and work with several tools from the same brand. However, corded tools are better for heavy, all-day jobs.
How Do I Store Tools If I Don’t Have A Garage?
Use a portable tool box or organizer. Store it in a closet, under the bed, or on a shelf. For larger tools, a sturdy plastic bin works well. The key is to keep tools dry and organized so you can find them easily.
What’s A Common Beginner Mistake With Diy Tools?
Many beginners use the wrong tool for a job or forget to wear safety gear. This can lead to poor results or injuries. Always use the correct tool and protect yourself, even for small projects.
Taking control of your home improvement with the right tools is both empowering and practical. Start with the essentials, add tools as your skills grow, and always put safety and quality first. With a little knowledge and the right gear, you can tackle almost any project and enjoy the satisfaction of a job well done.