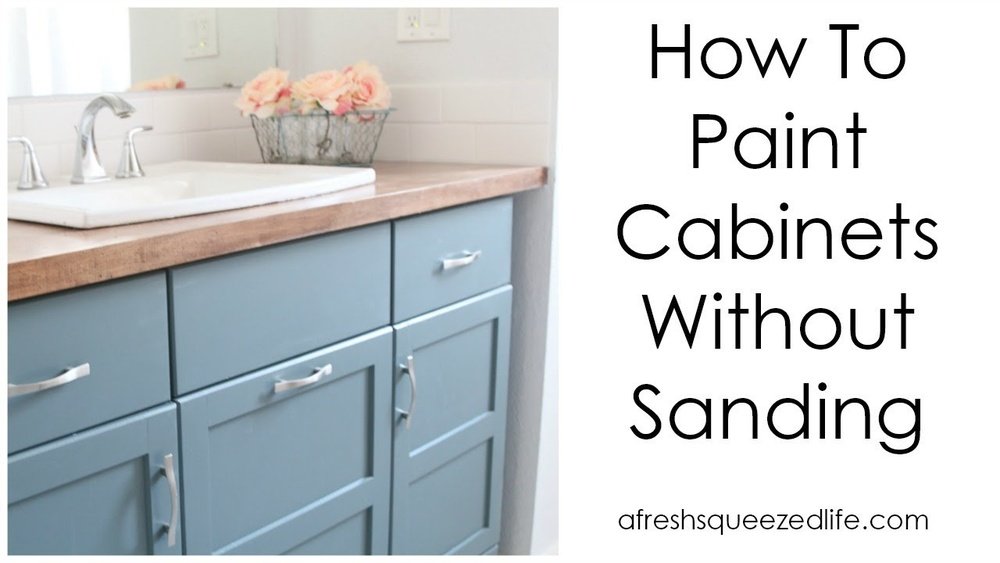
Painting your cabinets can make a kitchen or bathroom look fresh and modern, but the thought of endless sanding often stops people before they start. The good news? You don’t have to sand your cabinets to get a professional-looking finish. With the right products, preparation, and techniques, painting cabinets without sanding is not only possible but also surprisingly effective. This guide will show you every step, share practical tips, and help you avoid mistakes that beginners often make.
Why Skip Sanding? The Real Story
Sanding is messy and time-consuming. It creates dust that gets everywhere—on countertops, in drawers, and even in other rooms. If you have old cabinets, sanding can also damage thin veneers or create uneven surfaces. Most importantly, many modern paints and primers are designed to stick well to surfaces that are properly cleaned and prepped, making sanding less important than it once was.
However, skipping sanding does not mean skipping preparation. In fact, good preparation is even more important when you don’t sand. The key is to use products that help paint stick and to follow a careful process.
Materials And Tools You Will Need
Before you begin, gather all your materials. The right tools save time and help you get a smooth finish.
| Item | Purpose |
|---|---|
| Degreaser or TSP Substitute | Removes grease and dirt |
| Liquid Sandpaper (deglosser) | Dulls glossy surfaces |
| Bonding Primer | Helps paint stick |
| High-Quality Paint | Gives color and protection |
| Microfiber Cloths | Cleans and dries surfaces |
| Foam Rollers and Brushes | Applies primer and paint smoothly |
| Painters Tape | Protects walls and hardware |
| Drop Cloths | Protects floors and counters |
| Screwdriver | Removes hardware and doors |
| Plastic Bags or Containers | Stores screws and handles |
Step-by-step Guide: Painting Cabinets Without Sanding
Let’s look at each step in detail, so you get a finish that lasts.
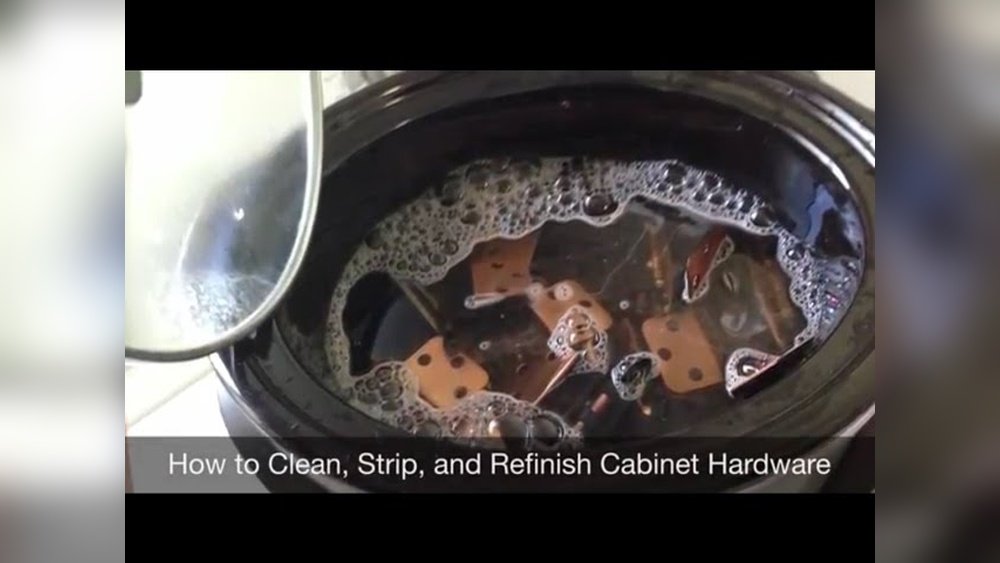
1. Remove Doors, Drawers, And Hardware
Start by taking off all cabinet doors and drawers. Remove handles, knobs, and hinges with a screwdriver. Place small parts in labeled bags. This helps you reassemble everything easily later.
2. Clean The Surfaces
Cabinets, especially kitchen cabinets, collect grease and grime. Use a strong degreaser or a TSP substitute (Trisodium Phosphate alternative). Spray or wipe the cleaner on, let it sit for a few minutes, then scrub with a sponge or cloth. Rinse with clean water and dry thoroughly.
*Non-obvious insight*: Skipping this cleaning step is the main reason paint peels later, even if you use the best primer.
3. Apply Liquid Sandpaper (deglosser)
Liquid sandpaper, also called a deglosser, is a chemical product that dulls old paint or finish so the new paint can stick. Wear gloves and open windows for ventilation. Pour the deglosser onto a clean cloth and rub it over all cabinet surfaces you plan to paint.
Follow the instructions on the bottle carefully, especially regarding drying time.
*Common mistake*: Not letting the deglosser dry fully before priming. This can cause the paint to bubble.
4. Protect Surrounding Areas
Use painters tape to protect walls, countertops, and any surfaces you do not want painted. Lay drop cloths on the floor and over nearby appliances.
5. Prime With A Bonding Primer
Bonding primer is the secret to painting without sanding. It sticks to slick surfaces like laminate and old varnish. Use a high-quality brush for corners and a foam roller for flat areas. Apply a thin, even coat. Let it dry completely (usually 4-6 hours).
Some primers may need a second coat for full coverage.
| Primer Type | Best For | Dry Time |
|---|---|---|
| Water-Based Bonding Primer | Most wood and laminate | 2-4 hours |
| Oil-Based Bonding Primer | Heavy stains, high traffic areas | 4-6 hours |
*Non-obvious insight*: Bonding primer will even cover old oil-based paint, which most regular paints cannot do.
6. Paint Cabinets With Quality Paint
Choose a paint made for cabinets, such as an acrylic enamel or alkyd paint. These paints dry hard and resist chipping. Stir your paint well before starting. Use a clean brush for details and a foam roller for flat sections. Apply thin coats—two coats are usually better than one thick coat.
Let each coat dry fully (check the paint can for instructions, usually 4 hours between coats). If you see drips, sand lightly with a fine sanding block (this is not heavy sanding, just a touch-up).
7. Reassemble Cabinets And Install Hardware
Wait at least 24 hours after the last coat before reattaching doors and hardware. This allows the paint to cure so it won’t stick or peel. Put hardware back in the correct places using your labeled bags or containers.
*Practical tip*: If you want a more modern look, replace old handles and knobs with new ones.
How Well Does Paint Stick Without Sanding?
If you follow these steps and use a high-quality bonding primer, paint will stick extremely well—even on shiny or factory-finished cabinets. In fact, many professional painters skip sanding unless the surface is damaged or peeling. The key is deep cleaning and the right primer.
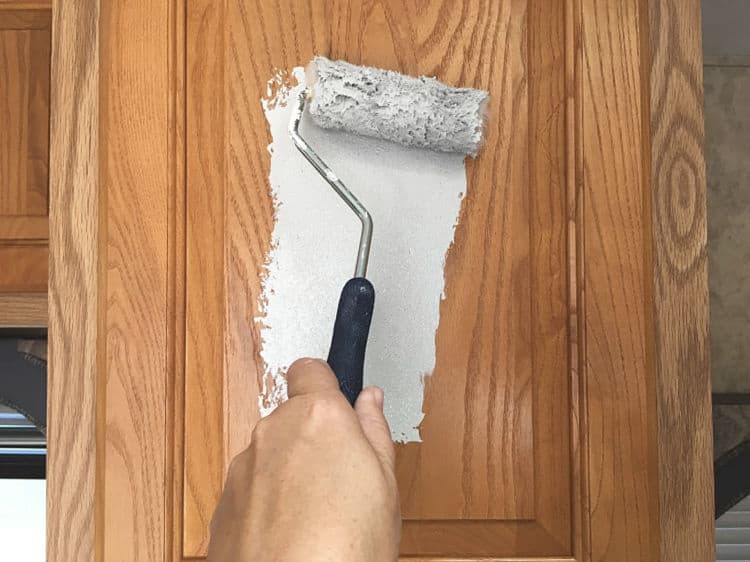
Credit: thepalettemuse.com
Comparing Sanding Vs. No Sanding Methods
Here’s how painting cabinets without sanding compares to the traditional method:
| Step | With Sanding | Without Sanding |
|---|---|---|
| Preparation Time | 4-8 hours | 2-4 hours |
| Mess Level | High (dust everywhere) | Low (chemical fumes) |
| Tools Needed | Sandpaper, vacuum, mask | Deglosser, gloves |
| Finish Quality | Excellent if done well | Excellent with proper primer |
| Risk of Damage | Possible veneer damage | Very low |
*Experience-based insight*: For cabinets in good condition, skipping sanding is just as durable. But if your cabinets are peeling or have deep scratches, sanding is still necessary.
Choosing The Best Primer And Paint
Not all primers and paints are equal. For the best results, look for:
- Bonding primer: Specially made to grip slick or glossy surfaces.
- Cabinet paint: Hard, durable, and easy to clean.
- Low-VOC options: Healthier for your indoor air.
Some trusted brands include Benjamin Moore Advance, Sherwin-Williams Emerald Urethane, and Zinsser Bondz primer. Always check reviews and ask at your local paint store for the latest recommendations.
Common Mistakes To Avoid
- Not cleaning thoroughly: Even a little grease will cause peeling later.
- Skipping deglosser: This step is essential if you’re not sanding.
- Using regular wall paint: Cabinet paint is harder and lasts longer.
- Not letting each coat dry: Rushing leads to smudges and bubbles.
- Overloading the brush or roller: Thin coats look better and last longer.
How To Get A Smooth, Professional Finish
- Use a foam roller for flat areas to avoid brush marks.
- Lay doors flat on a worktable when painting—this prevents drips.
- Remove any dust with a tack cloth between coats.
- For a super-smooth finish, let the final coat cure for several days before heavy use.
Credit: thepalettemuse.com
When You Should Not Skip Sanding
There are some situations where sanding is still necessary:
- Peeling or chipping paint: Sanding smooths damaged areas.
- Deep scratches or gouges: Fill these first, then sand smooth.
- Raw wood: Needs sanding for best absorption.
If your cabinets have any of these issues, do a light sanding only where needed, then continue with the no-sanding method for the rest.
How Long Will The Finish Last?
With proper prep and products, your new finish should last 5-10 years or more. Cabinet paints are designed to handle daily cleaning and regular use. In high-traffic kitchens, you may see minor wear after a few years, but touch-ups are easy.
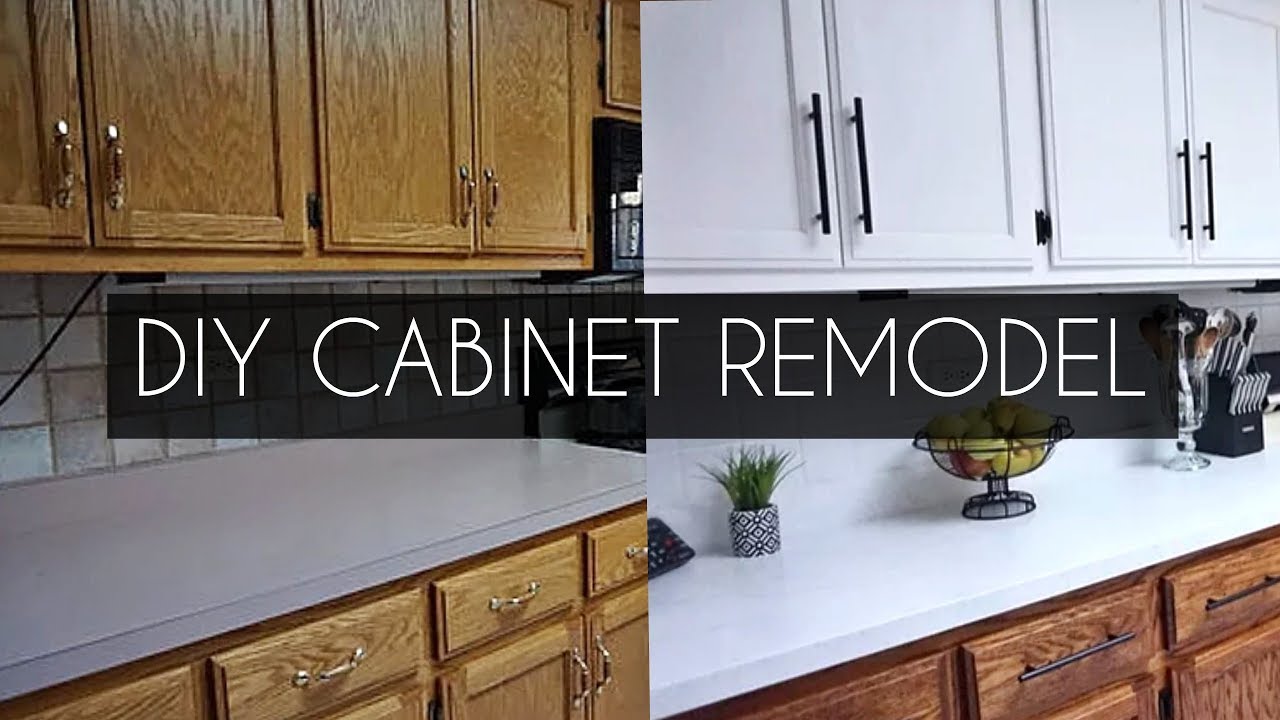
Credit: www.youtube.com
Extra Tips For Best Results
- Work in a well-ventilated area to reduce fumes.
- Paint cabinet frames first, then doors and drawers.
- Number the doors and their locations so you can put them back in the right spot.
- For extra durability, add a clear topcoat after the final paint coat. This is optional but helps in busy kitchens.
The Real Benefits Of Painting Without Sanding
- Saves time and effort
- Less dust and mess
- Protects thin veneers and delicate finishes
- Lets you update cabinets on a weekend
Many homeowners are surprised how great their “no-sand” cabinets look, even years later. This approach is practical, modern, and perfect for DIYers who want beautiful results without the hassle.
For more on the chemistry behind modern primers, visit this Wikipedia page on primers.
Frequently Asked Questions
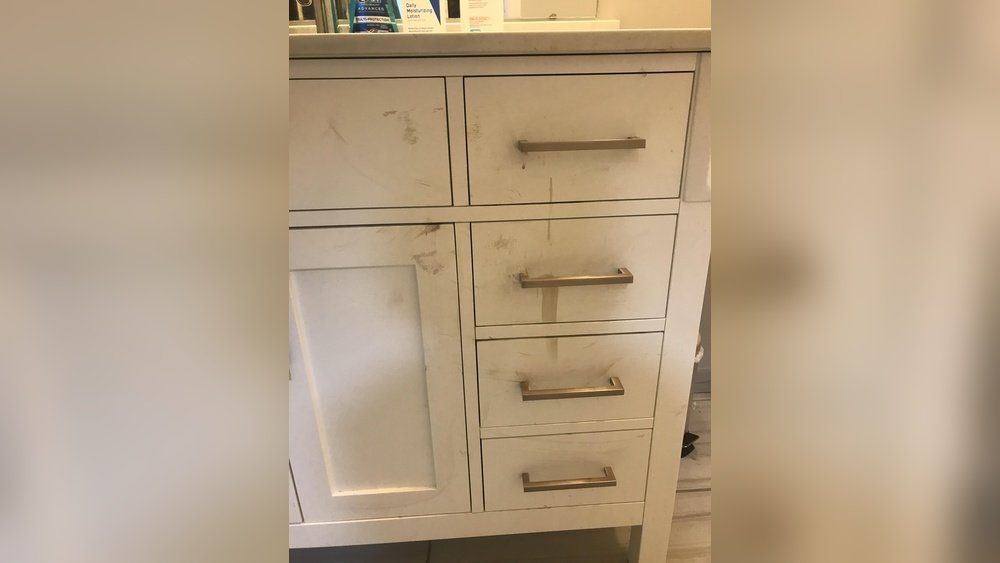
What If My Cabinets Are Really Dirty Or Greasy?
If your cabinets have heavy grease buildup, use a strong degreaser and scrub well. Sometimes you may need to clean two or three times. Any leftover grease will stop primer and paint from sticking.
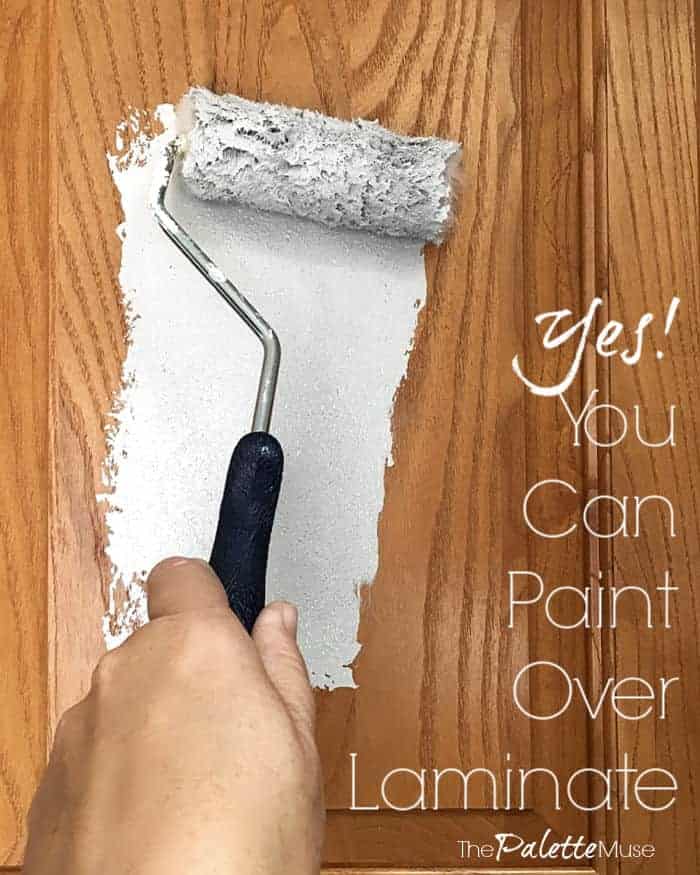
Can I Paint Laminate Cabinets Without Sanding?
Yes, but you must use a bonding primer made for laminate. Clean and degloss carefully. Laminate is slick, so prep is even more important.
How Long Should I Wait Before Using My Cabinets After Painting?
Wait at least 24 hours before light use, and 3-7 days before normal use. This gives the paint time to cure and harden fully.
Do I Need A Topcoat Over The Paint?
A topcoat is not always required if you use cabinet-specific paint, but it adds extra protection—especially in kitchens or bathrooms. Use a water-based polyurethane for best results.
Will This Method Work For Bathroom Cabinets?
Yes! The process is the same for bathroom or laundry room cabinets. Just be sure to use paint and primer rated for moisture resistance.
Freshly painted cabinets can change the whole look of your space. By following these steps, you can get a long-lasting, beautiful finish—without the mess of sanding. Take your time, use quality products, and enjoy your “like new” cabinets for years to come.