Installing a new bathroom vanity top can make your bathroom look fresh and modern. Whether you want to update an old, worn-out top or you’re remodeling your entire space, this project is possible for most homeowners. You don’t need to be an expert, but you must be careful, patient, and willing to follow each step.
This guide will walk you through the entire process, from choosing the right vanity top to making sure everything is sealed and ready for daily use.
Choosing The Right Bathroom Vanity Top
Before you start, you need to pick the best vanity top for your bathroom. There are many materials, sizes, and styles. Each has pros and cons.
Common Materials Compared
Here is a quick comparison of popular vanity top materials:
| Material | Pros | Cons |
|---|---|---|
| Cultured Marble | Affordable, easy to clean, many colors | Scratches easily, not as durable as natural stone |
| Granite | Strong, heat-resistant, unique look | Expensive, needs sealing |
| Quartz | Non-porous, durable, no sealing needed | Heavy, pricey |
| Solid Surface | Seamless appearance, easy repairs | Can scratch, not as heat-resistant |
| Laminate | Cheap, many designs, lightweight | Not waterproof, can chip |
Tip: When choosing a material, think about who will use the bathroom. For example, a kid’s bathroom might need a tough, easy-to-clean surface, while a guest bath can focus more on style.
Measuring For A New Vanity Top
Accurate measurement is very important. Measure the width, depth, and height of your vanity cabinet. Most standard tops are 19-22 inches deep, but always check before buying.
Measure:
- Width: Side to side, wall to wall if it fits between two walls.
- Depth: Front to back.
- Faucet holes: Check how many holes and the spacing (centerset, widespread, or single-hole).
If your wall is not straight, measure in several places. Buy a top that is slightly larger than your cabinet, then trim or caulk edges as needed.
Tools And Materials You Will Need
Having all the right tools and supplies before you start will save you frustration.
You’ll need:
- Adjustable wrench
- Screwdriver (Phillips and flathead)
- Utility knife
- Level
- Measuring tape
- Caulk gun and waterproof silicone caulk
- Putty knife
- Bucket and sponge
- Plumber’s putty
- Safety goggles and gloves
Materials:
- New vanity top
- Faucet and drain assembly (if replacing)
- Supply lines (if needed)
- Plumber’s tape
- Shims (small wood or plastic pieces to level the top)
Pro Insight: Many people forget to check if their faucet and drain assembly fit the new top. Not all tops come with pre-drilled holes in the same layout as your old one. Double-check before buying.
Removing The Old Vanity Top
Taking out the old top is sometimes the hardest part, especially if it’s stuck with glue or caulk. Take your time to avoid damaging the vanity base or walls.
- Turn off the water supply. There should be shutoff valves under the sink. Turn them clockwise.
- Disconnect the water lines. Use your wrench to loosen the nuts on the supply lines. Have a bucket ready for drips.
- Remove the drain. Loosen the P-trap (the U-shaped pipe under the sink) and the drain flange.
- Cut the caulk line. Use a utility knife to slice through the caulk where the vanity top meets the wall and cabinet.
- Unscrew the top. Check inside the cabinet for clips or screws. Remove them.
- Lift off the old top. You may need to pry gently with a putty knife. Get help if it’s heavy.
Extra Tip: If you plan to reuse the faucet, remove it from the old top now. Clean it well before installing it on the new top.
Preparing The Vanity Base And Area
A clean, level base is key for a good fit and long-lasting result.
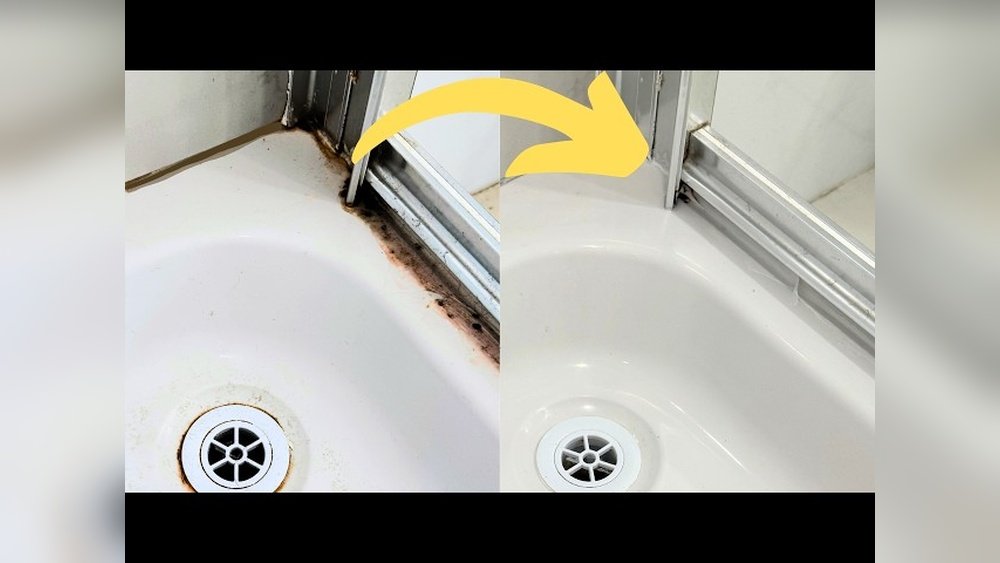
- Clean all debris, old caulk, and glue from the cabinet and wall.
- Check for water damage or mold. Fix any issues before installing the new top.
- Place a level on the base. If it’s not level, use shims to even it out.
- Dry fit the new top (set it in place without glue) to check the fit. Adjust as needed.
Beginner Insight: Many people skip checking for level. An uneven base makes the top rock or leaves gaps, which can lead to leaks and further damage.
Credit: www.cravingsomecreativity.com
Installing The New Bathroom Vanity Top
Now you’re ready for the main event. Installing the vanity top is easier with a helper, especially for heavy stone tops.
Step-by-step Installation
- Apply silicone caulk. Run a small bead of caulk along the top edge of the vanity cabinet and the sides that will touch the wall.
- Set the vanity top in place. Lower it gently, making sure it fits snugly against the wall. Press down to set it into the caulk.
- Check for level. Place a level on the top. If it’s not level, lift gently and add shims under the top as needed.
- Secure the top. Some tops use brackets or clips. If your top has these, install them now.
- Wipe away extra caulk. Clean up any caulk that squeezes out with a damp sponge.
Practical Example: If your wall is uneven and there’s a gap, fill it with silicone caulk. For larger gaps, you may need a trim piece or backsplash.
Installing The Faucet And Drain
Most vanity tops do not come with a faucet or drain installed. Now is the time to put these in place.
Faucet Installation
- Insert the faucet through the pre-drilled holes.
- Secure with washers and nuts from below. Tighten with a wrench, but don’t overtighten.
- Attach the supply lines to the faucet. Use plumber’s tape on the threads to prevent leaks.
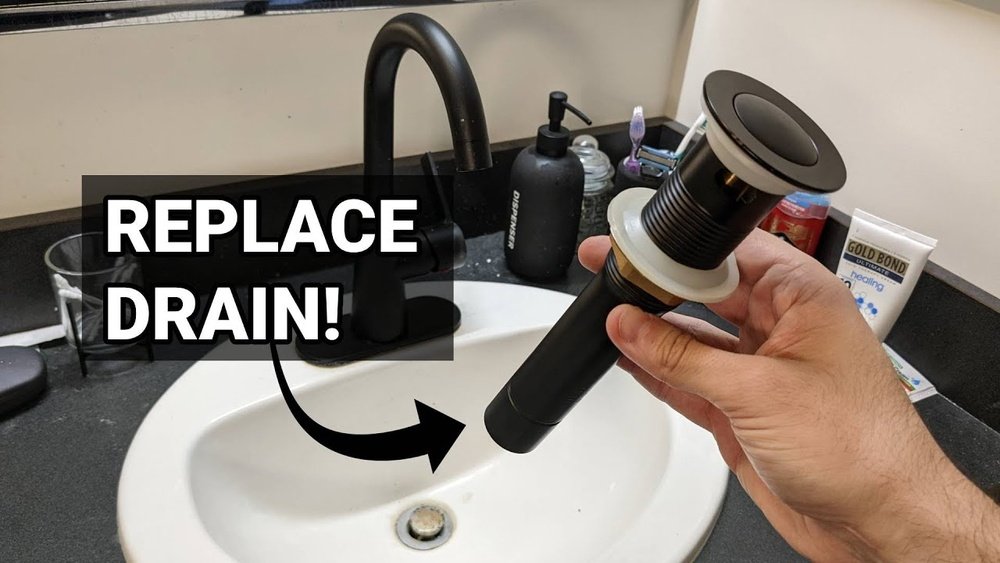
Drain Installation
- Apply plumber’s putty around the drain hole.
- Insert the drain body and tighten the nut underneath.
- Attach the P-trap and connect it to the waste pipe.
Common Mistake: Skipping plumber’s tape or not tightening enough can cause leaks. But overtightening can crack the top, especially with porcelain or stone.
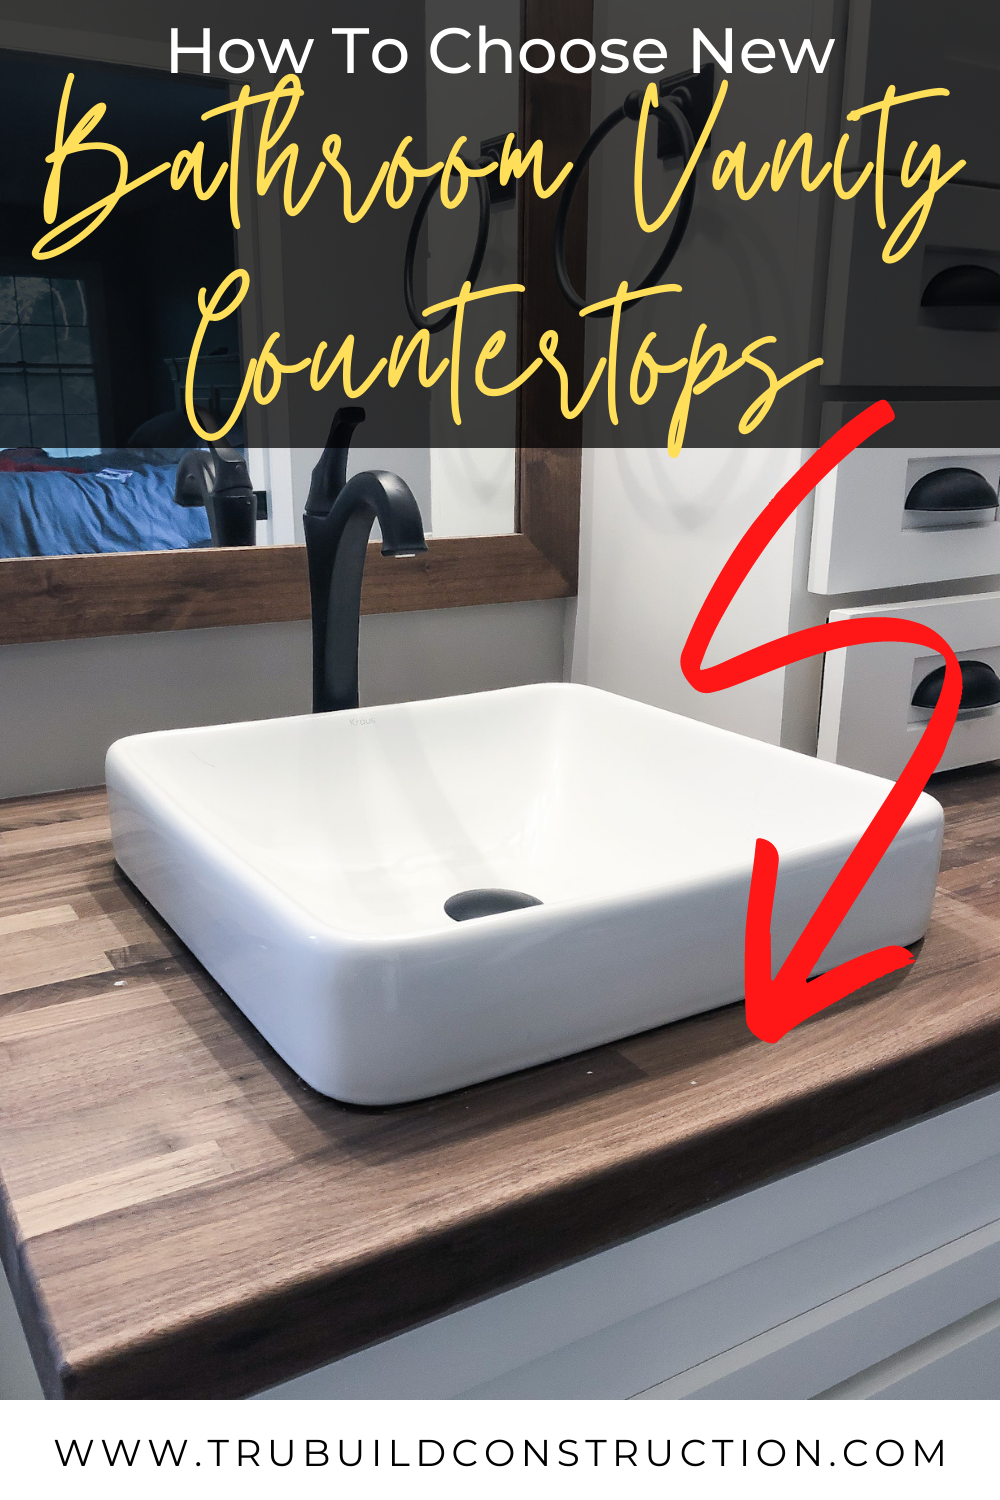
Credit: trubuildconstruction.com
Sealing And Caulking
Sealing is critical for a water-tight, long-lasting installation.
- Apply a smooth bead of silicone caulk where the top meets the wall.
- If you have a separate backsplash, caulk the seam between it and the top.
- For natural stone tops, use a recommended stone sealer to protect against stains (follow manufacturer’s directions).
Advanced Tip: Some people use latex caulk because it’s easier to clean, but silicone is much more water-resistant and lasts longer in bathrooms.
Reconnecting Plumbing And Testing
Almost done! Now, reconnect the water lines and test everything.
- Connect the supply lines from the shutoff valves to the faucet.
- Reconnect the P-trap and drain.
- Turn the water on slowly and check for leaks.
- Run water for a few minutes, checking under the sink for drips.
Non-obvious Insight: Leaks might not show right away. Wipe all connections dry, then check again after a few hours. Small drips can cause big problems if missed.
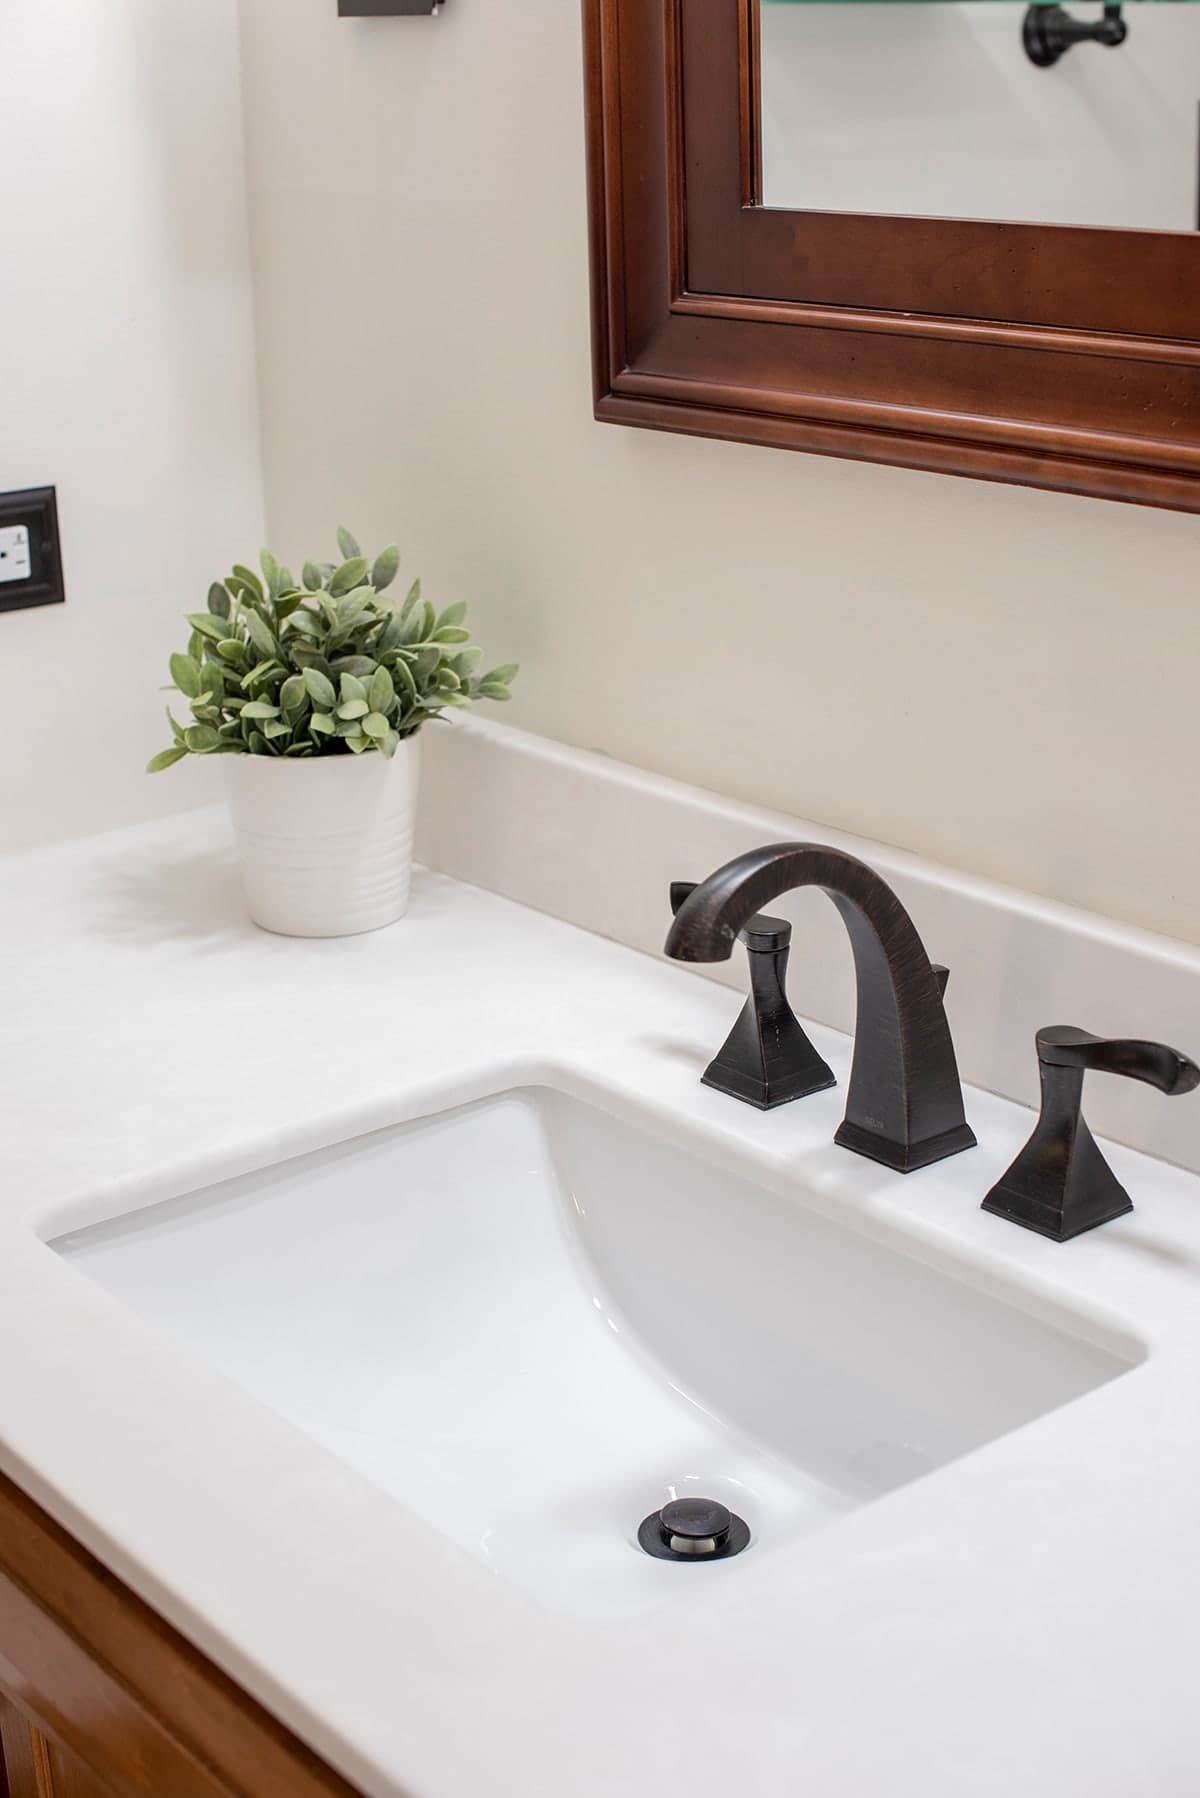
Final Touches And Cleaning
Finish your project by adding the final details:
- Remove any protective film or stickers from the new top.
- Clean the surface with a gentle cleaner (avoid harsh chemicals, especially on stone or solid surface).
- Install the backsplash if not already attached.
- Replace drawers or doors if removed.
A new vanity top can make your bathroom feel new again. Take a moment to admire your work!
Cost And Time Considerations
Understanding the cost and time required helps set realistic expectations.
| Task | Estimated Time | Average Cost (USD) |
|---|---|---|
| Removing old top | 1 hour | $0 (DIY) |
| Installing new top | 1-2 hours | $150–$700 (depends on material) |
| Faucet & drain install | 1 hour | $50–$300 |
| Professional help | – | $200–$500 extra |
For most people, this project takes a half day if you’re careful and prepared. Granite and quartz are heavier and may require extra hands or even professional installation.
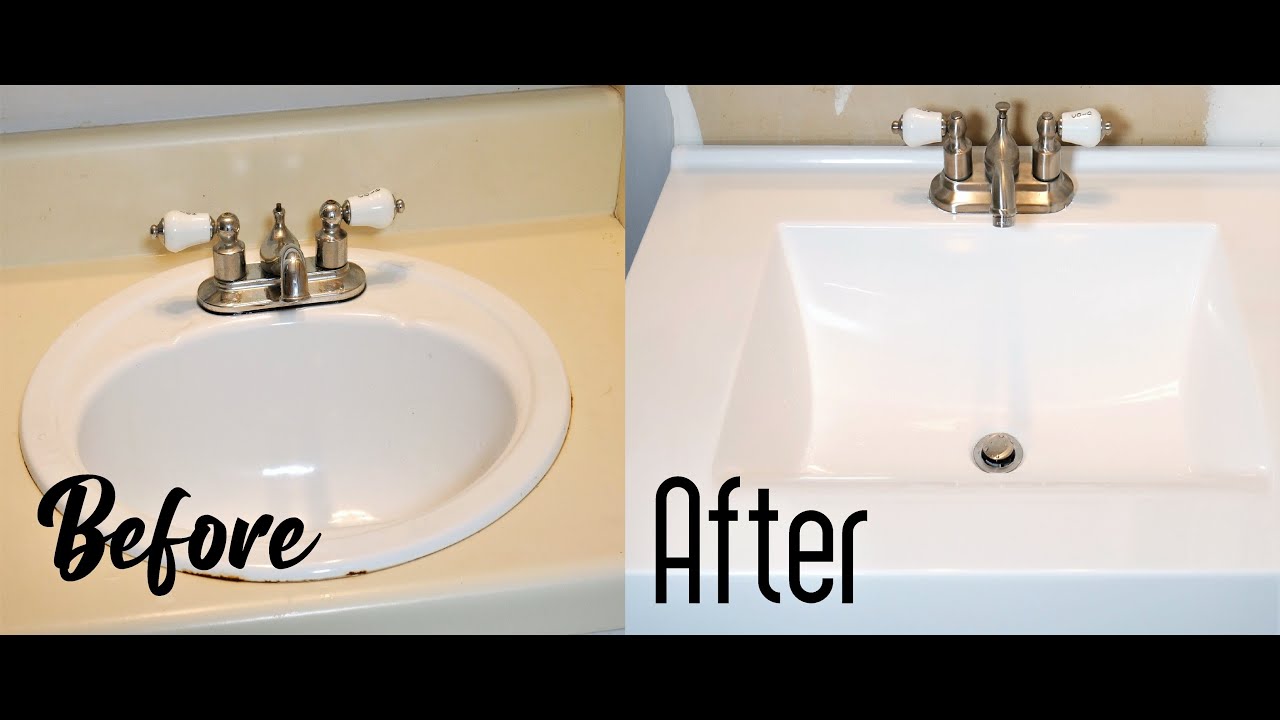
Credit: www.youtube.com
Safety Tips And Common Mistakes
- Always wear safety goggles and gloves when handling tools and heavy tops.
- Turn off water before starting any plumbing work.
- Check for hidden pipes or wiring before cutting or drilling.
- Don’t rush the caulking and sealing. Water damage takes time to show, but can ruin your vanity and floor.
Mistake to Avoid: Forgetting to let the caulk cure before using the sink. Most silicone needs at least 24 hours to set fully.
When To Call A Professional
Some situations require a pro:
- If your plumbing lines are very old or corroded
- If you find water damage or mold during removal
- For very heavy stone tops (over 60 pounds)
- If you’re not confident with water connections
A professional can ensure a perfect fit and prevent leaks. But many people successfully install their own vanity tops and save hundreds of dollars.
For more details on bathroom remodeling, check out Family Handyman’s guide.
Frequently Asked Questions
How Long Does It Take To Install A Bathroom Vanity Top?
Most DIYers can complete the job in 3 to 5 hours. If you run into problems, like stuck plumbing or uneven walls, it may take longer.
Can I Reuse My Old Faucet And Drain With A New Vanity Top?
Yes, if the hole sizes and spacing match. Clean all parts before reinstalling to avoid leaks or stains.
What Is The Best Caulk To Use Around A Bathroom Vanity Top?
Use a 100% silicone caulk. It resists water and mildew better than latex caulk, especially in a humid bathroom.
How Do I Cut A Vanity Top To Fit Around Pipes Or Walls?
Use a diamond blade for stone or a fine-tooth saw for laminate. Always measure twice and cut slowly. Wear safety gear to protect from dust and chips.
Is Sealing Necessary For All Vanity Tops?
No. Quartz and solid surface tops do not need sealing. Granite and marble should be sealed regularly to protect from stains and water damage.
—
Installing a bathroom vanity top may sound challenging, but with the right preparation and attention to detail, it’s a project most homeowners can tackle. You’ll get a fresh look and a sense of pride every time you step into your bathroom.
Take your time, double-check each step, and soon you’ll have a beautiful, functional new vanity top that will last for years.