A clean, well-organized kitchen pantry cabinet can change the way you cook and live. When you open your pantry and see everything in its place, it saves time, reduces waste, and makes meal planning easier. But for many people, a pantry turns messy quickly.
Food gets lost, items expire, and you end up buying things you already have. If you want to stop the chaos and create a system that really works, you need more than just a few baskets. Let’s explore practical, step-by-step ways to organize your kitchen pantry cabinet for good.
Why Pantry Organization Matters
A pantry is not just a storage space—it’s the heart of your kitchen workflow. When your pantry is organized, you:
- Find ingredients faster
- Reduce food waste
- Save money on groceries
- Make healthier choices
- Lower daily stress
A 2021 study by the National Resources Defense Council found that the average American family throws away about $1,600 of food each year, often because they forget what they have. An organized pantry helps you see and use what you own.
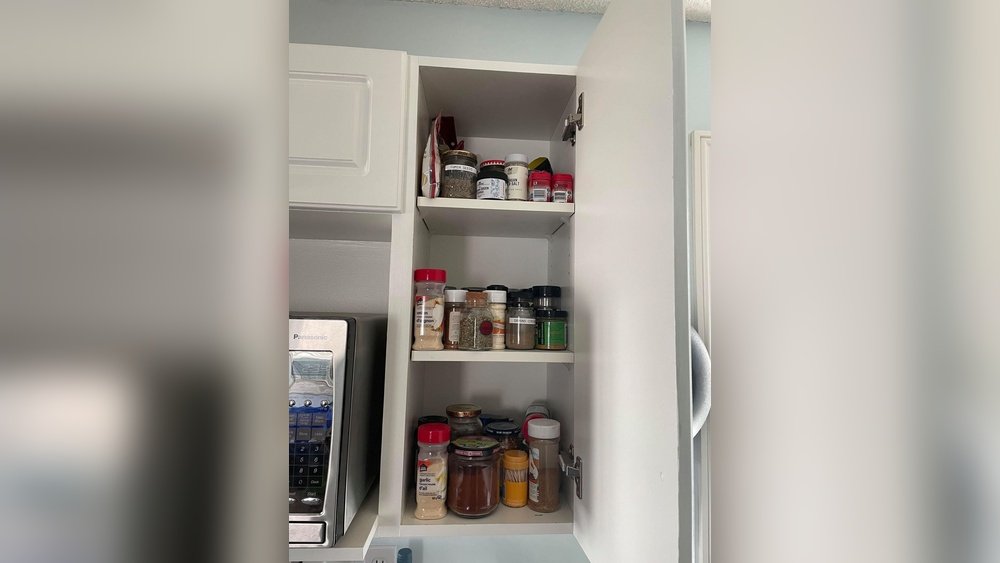
Step 1: Take Everything Out
Start by emptying your pantry completely. Remove every can, box, bottle, and bag. This helps you see the full picture and creates a clean slate.
- Check expiration dates. Toss anything expired or stale.
- Wipe down all shelves, corners, and surfaces.
- As you empty, group similar items together on your counter (for example: All pasta, all snacks, all baking items).
This first step is essential. Skipping it means you’ll end up organizing around clutter you should have removed.

Credit: thistlewoodfarms.com
Step 2: Sort And Categorize
Now, look at what you have and sort it into clear categories. Some common pantry categories include:
- Grains (rice, pasta, oats, quinoa)
- Canned goods (beans, soups, tomatoes)
- Snacks (chips, crackers, dried fruit)
- Breakfast items (cereal, granola, pancake mix)
- Baking supplies (flour, sugar, baking powder)
- Spices and seasonings
- Condiments and sauces
- Oils and vinegars
If you have kids or special diets, create extra categories like gluten-free items or kids’ snacks.
Non-obvious Insight
Most people forget to include a category for “extras. ” This is for backup items that you buy in bulk, like an extra bottle of olive oil or a spare box of pasta. Store these separately, so your main shelves stay clear and easy to scan.
Step 3: Measure And Plan Your Space
Before you put items back, measure your pantry cabinet’s shelves.
- Shelf height, width, and depth matter when choosing bins or containers.
- Take note of any awkward corners or deep spaces where items can get lost.
Here’s a quick comparison of common pantry shelf depths and what fits best:
| Shelf Depth | Best Items to Store | Common Mistakes |
|---|---|---|
| 10-12 inches | Spices, cans, small jars | Stacking large boxes (they fall easily) |
| 14-16 inches | Pasta, snacks, baskets | Not using bins for loose packets |
| 18-24 inches | Bulk goods, cereal boxes | Letting items pile in the back |
Use these measurements to plan where each category will live. Place frequently used items at eye level and heavier items on lower shelves.
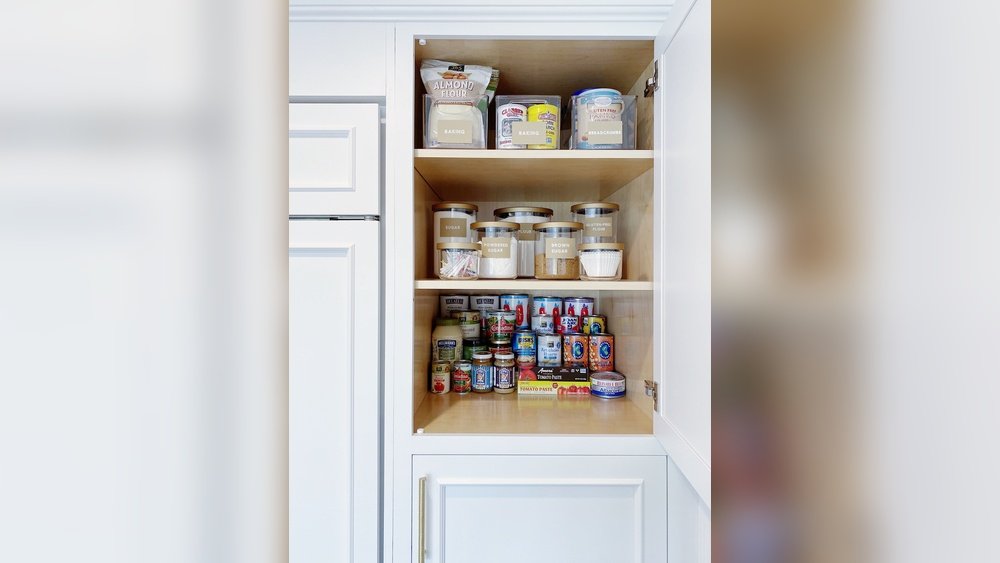
Step 4: Choose The Right Containers
Not all containers are equal. Clear bins, airtight jars, and lazy Susans each have their own strengths.
Container Types And Their Best Uses
| Container Type | Best For | Why It Works |
|---|---|---|
| Clear bins | Snacks, packets, groupings | Easy to see contents at a glance |
| Airtight canisters | Flour, sugar, grains | Keeps food fresh, prevents pests |
| Lazy Susans | Oils, sauces, jars | Makes deep shelves accessible |
| Stackable bins | Cans, snacks | Maximizes vertical space |
| Wire baskets | Produce, bread | Allows air flow, prevents mold |
Non-obvious Insight
Don’t buy containers before measuring your shelves and sorting your food. Many people waste money on bins that don’t fit, or buy too many of one type.
Step 5: Label Everything
Labels make your system last. Use simple, clear labels on every bin, basket, and canister. Handwritten labels are fine, but printed ones look neater and last longer.
- Use labels like “Brown Rice,” “Snacks,” or “Breakfast Foods.”
- For bulk bins, add the expiration date on the bottom or back.
- Label shelves as well, so everyone in your home knows where things go.
If you have kids or non-English speakers in your home, try labels with both words and pictures.

Credit: designthusiasm.com
Step 6: Arrange By Frequency Of Use
The best-organized pantry puts everyday items front and center. Here’s a simple way to arrange your shelves:
- Eye level: Breakfast foods, snacks, lunchbox items.
- Lower shelves: Heavy items (canned goods, drinks).
- Upper shelves: Baking ingredients, rarely used items.
- Back or corners: Extras and backup supplies.
This makes it easy to grab what you need quickly.
Step 7: Use Vertical Space
Most pantries waste space above or below shelves. Make use of all available height.
- Add shelf risers to double up cans or spices.
- Use stackable bins for snacks or baking goods.
- Hang hooks on the inside of the door for measuring cups or reusable bags.
- Try over-the-door organizers for spices, packets, or wraps.
A practical example: If you have a narrow cabinet, a vertical can organizer can hold up to 36 cans in the space of 12.
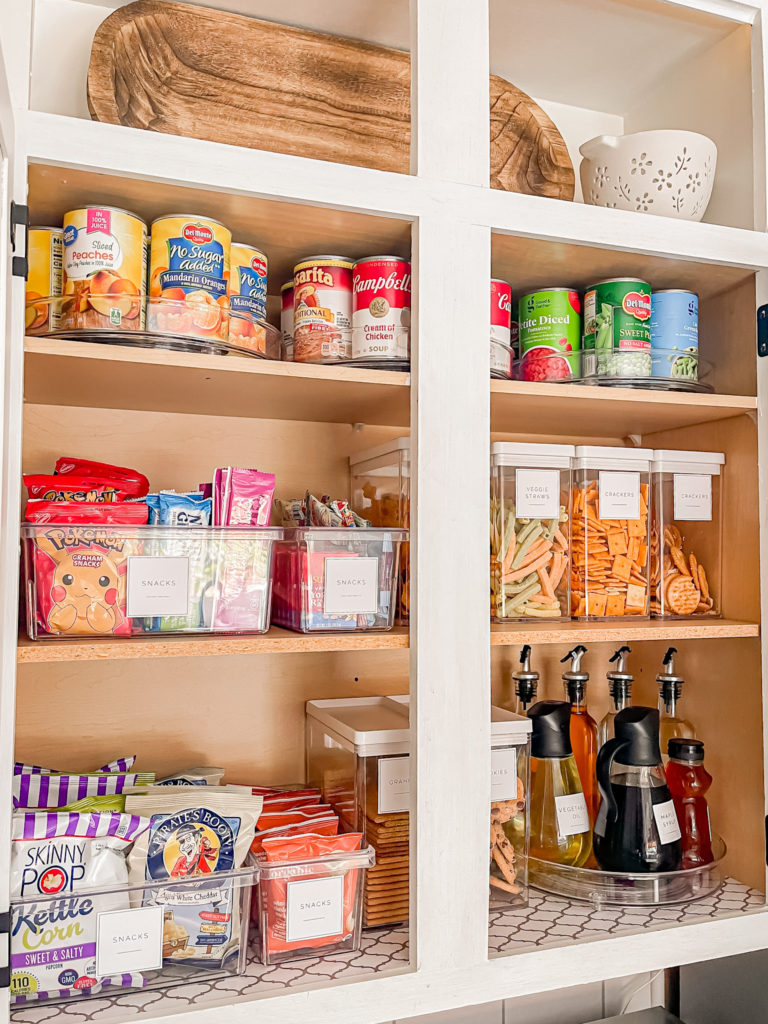
Step 8: Create Zones
Zones help everyone find (and put back) items easily. Think of your pantry like a grocery store:
- Breakfast zone: Cereal, oats, granola bars
- Snack zone: Chips, dried fruit, crackers
- Cooking zone: Oils, vinegars, spices, sauces
- Baking zone: Flour, sugar, chocolate chips
- Kids’ zone: Easy-to-reach snacks or lunchbox items
Place zones according to your family’s needs. If you bake often, make the baking zone easy to reach. If you have young kids, put their snacks on a lower shelf.
Step 9: Make A Shopping Inventory
An organized pantry makes shopping easier. Keep a simple inventory list (on paper or your phone) of what you have and what needs restocking.
- Each week, do a quick scan and note items running low.
- For busy families, a dry-erase board on the inside of the pantry door works well.
- Apps like AnyList or Google Keep can track your pantry inventory and sync with your grocery list.
This habit helps you avoid overbuying and ensures you always have essentials on hand.
Step 10: Maintain Your System
A great pantry system only works if you keep it up. Set aside 10 minutes every week to tidy and check for expired items.
- Teach everyone in your home where items go.
- Re-label as needed when you change categories.
- Wipe down shelves monthly to keep dust and spills away.
A surprising tip: Take a quick photo of your pantry each month. This helps you notice creeping clutter or items you’re not using.
Common Organization Mistakes To Avoid
Many people make the same errors when organizing a pantry:
- Buying containers before measuring (bins don’t fit, space is wasted)
- Ignoring expiration dates (old food hides in the back)
- Stacking too much on one shelf (items fall or get lost)
- Not creating zones (everyone puts things in random places)
- Forgetting to maintain (system falls apart after a few weeks)
Avoid these mistakes and your pantry will stay organized much longer.
Credit: simplybeautifulbyangela.com
Real-life Example: Small Pantry Transformation
A family of four with a narrow, deep pantry was always buying extra pasta and snacks, only to find them months later, expired in the back. They followed the steps above:
- Emptied the pantry and tossed 12 expired items
- Sorted food into categories
- Used clear bins for snacks and stackable can organizers
- Created a “kids’ snacks” bin at child-height
- Added shelf risers and labeled every shelf
- Put a dry-erase shopping list inside the door
After three months, they reduced food waste by half and spent $40 less per month on groceries.
How To Organize A Pantry With Limited Space
Small kitchens can have great pantries too. Here are some expert tips:
- Use door organizers for spices, packets, or condiments
- Store bulky items (like paper towels) elsewhere to free up space
- Use every inch—corners, cabinet doors, even wall space for hanging baskets
- Choose slim, stackable bins to maximize every shelf
- Store less-used appliances elsewhere
Don’t be afraid to reorganize every few months as your family’s needs change.
Advanced Tips For Busy Households
If you cook often or have a large family, try these advanced strategies:
- Use a first-in, first-out system for cans and bulk goods. Place new items at the back so older ones get used first.
- Keep a “quick grab” basket for last-minute meals (tortillas, canned beans, sauce).
- Assign each family member a shelf or bin for personal snacks.
- Store emergency items (like bottled water or flashlights) on a high shelf.
For more advanced pantry organization ideas, visit the Container Store.
Frequently Asked Questions
How Do I Keep My Pantry From Getting Messy Again?
Set up a simple routine: every time you put away groceries, group items by category and place them in the right bin or shelf. Do a quick tidy-up weekly and remind your family about the system.
What Should I Do With Food I Don’t Use Often?
Store rarely used items on the highest or lowest shelves, or in a separate “extras” bin. Review these items every few months to avoid waste.
Are Airtight Containers Really Necessary?
For items like flour, sugar, and grains, airtight containers keep food fresher and prevent pests. For snacks and canned goods, they’re optional but can help with neatness.
How Do I Organize A Deep Pantry Cabinet?
Use lazy Susans for jars and bottles, stackable bins for snacks, and tiered shelves for cans. Keep less-used items at the back, and put a small flashlight in the pantry to help you see deep shelves.
How Often Should I Clean And Reorganize My Pantry?
Do a quick tidy-up weekly and a full clean-out every three to six months. This keeps your pantry system running smoothly and prevents clutter from building up.
A well-organized kitchen pantry cabinet isn’t just about looks—it saves you time, money, and stress every day. With a bit of planning and a smart system, you’ll enjoy cooking more and waste less. Start small, stick to these steps, and your pantry can become the most organized spot in your home.