You want to add a closet rod but dread the idea of drilling holes in your walls. Maybe you’re renting, or perhaps you just want a quick, damage-free solution.
Good news—you don’t have to pick up a drill to get that extra hanging space you need. In this guide, you’ll discover simple, smart ways to install a closet rod without drilling, saving your walls and your time. Keep reading, and you’ll learn easy tricks that anyone can do to organize your closet fast and hassle-free.
Tools And Materials Needed
Installing a closet rod without drilling requires the right tools and materials. Choosing the proper items helps avoid damage to walls and ensures a sturdy setup. Prepare everything before starting for a smooth installation.
No-drill Closet Rod Options
Select a closet rod designed to fit without screws or holes. Tension rods are popular and easy to adjust between walls. Another choice is a rod with adhesive brackets that stick firmly to surfaces. These options protect walls and offer quick installation.
Wall-friendly Anchors And Supports
Use anchors made for no-drill setups to hold the rod securely. Adhesive hooks or brackets can support light to medium weight rods. For heavier loads, look for strong suction cups or clamp-style supports. These tools keep the rod stable and prevent damage.
Measuring And Marking Tools
Accurate measurements are key for a balanced rod. Use a tape measure to find the space width. Mark points lightly with a pencil where supports will go. A level helps keep the rod straight. These simple tools improve the final result.
Choosing The Right Closet Rod
Choosing the right closet rod is essential for a strong and functional closet setup. It affects how much weight the rod can hold and how easy it is to install without drilling. Selecting the proper rod type, material, and finish ensures your closet looks good and lasts long. This section helps you understand the options to pick the best closet rod for your needs.
Tension Rods Vs. Bracket Systems
Tension rods fit tightly between two walls. They use pressure to stay in place. No drilling is needed, making installation quick and simple. These rods work best for light to medium loads. Bracket systems hold rods with support brackets attached to walls or shelves. Some bracket systems use adhesive or clamp methods to avoid drilling. They offer more stability and can hold heavier clothes.
Weight Capacity Considerations
Closet rods must support the weight of your clothes without bending. Tension rods usually hold less weight than bracket systems. Check the product label for weight limits before buying. If you have many heavy coats or suits, choose a rod with a higher weight capacity. Overloading a rod can cause it to fall or bend.
Material And Finish Choices
Closet rods come in different materials like metal, wood, and plastic. Metal rods are strong and durable. Wood rods offer a classic look but may not hold heavy weight well. Plastic rods are lightweight and affordable but less sturdy. Choose a finish that matches your closet decor. Common finishes include chrome, brushed nickel, and white paint. A good finish protects the rod from rust and wear.
Preparing The Closet Space
Preparing the closet space is the first step to install a closet rod without drilling. This step ensures the rod fits perfectly and stays secure. Clear space and check the walls before starting the installation. Proper preparation makes the process smooth and prevents mistakes.
Clearing And Cleaning The Area
Remove all items from the closet. Empty shelves and hangers to have full access. Clean the walls and floor to remove dust and dirt. A clean area helps the rod and brackets stick better if using adhesive or tension rods. Clear space also prevents damage to clothes or belongings during installation.
Measuring For Rod Placement
Measure the width of the closet where you want to place the rod. Use a tape measure for accuracy. Mark the height on both sides where the rod will go. Keep the rod at a comfortable height for hanging clothes. Double-check measurements to avoid errors in rod length or placement.
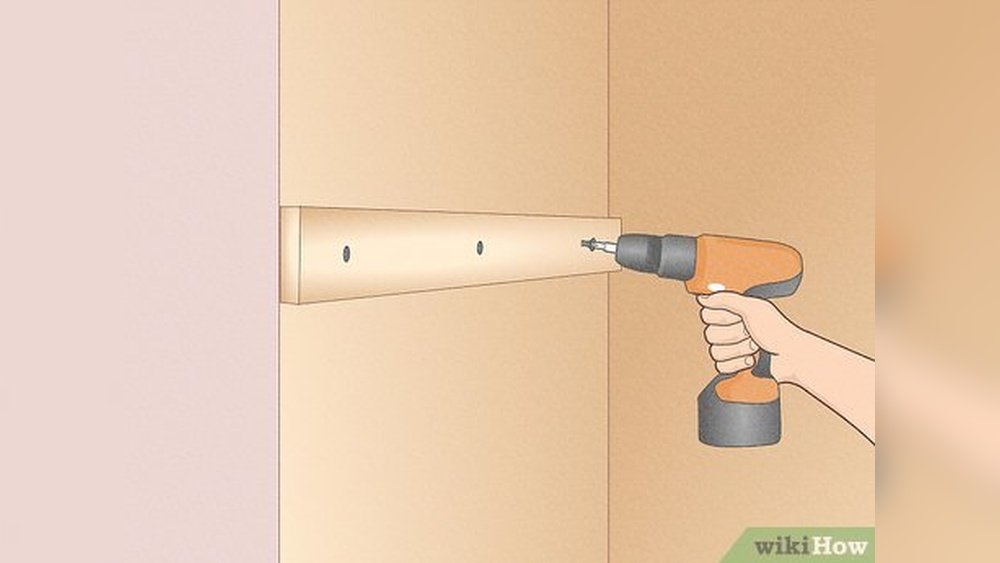
Checking Wall Surface And Studs
Look at the closet walls to see their surface type. Smooth walls are best for adhesive rods. Rough or textured walls may need different methods. Use a stud finder to locate studs inside the walls. Knowing stud locations helps if you decide to secure brackets without drilling. Avoid drilling by choosing the right installation method based on wall type.

Credit: www.ilcs.org
Installing A Tension Rod
Installing a tension rod is a simple and effective way to set up a closet rod without drilling. This method uses a spring-loaded rod that fits snugly between two walls. It holds itself in place by tension, so there is no need for screws or anchors. Tension rods are ideal for renters or anyone who wants to avoid wall damage. Below are the steps to install your tension rod correctly and securely.
Adjusting The Rod Length
Start by measuring the distance between your closet walls. Extend the tension rod to slightly longer than this space. Most rods twist to adjust length easily. Twist the rod until it fits tight between the walls but does not force them. A proper fit ensures the rod will hold well.
Positioning And Securing The Rod
Place one end of the rod against one wall at the desired height. Then compress the rod and fit the other end against the opposite wall. Make sure the rod is level and straight. Let go slowly so it presses firmly against both walls. Avoid placing the rod on uneven surfaces for better grip.
Testing Stability And Weight Support
Gently pull the rod to check if it stays in place. Add a few items of clothing to test its strength. If the rod slips or moves, adjust the length tighter. Use rubber end caps or adhesive pads on the rod ends for extra grip. Ensure the rod can support your clothes without sagging or falling.
Using Adhesive Or No-drill Brackets
Installing a closet rod without drilling can protect your walls and save time. Using adhesive or no-drill brackets offers a simple solution. These tools attach firmly without the need for screws or nails. This method suits renters or anyone avoiding damage to walls. The process is straightforward and requires minimal tools.
Selecting Suitable Adhesive Brackets
Choose adhesive brackets designed to hold heavy weight. Look for strong adhesives that stick well to your wall type. Plastic or metal brackets with foam tape often work best. Check the weight limit on the package before buying. Some brackets come with extra support for heavier rods.
Surface Preparation For Adhesion
Clean the surface where you will place the brackets. Remove dust, dirt, and grease with rubbing alcohol. Let the area dry completely before applying adhesive. Smooth, flat surfaces help the adhesive stick better. Avoid textured or rough walls for the best results.
Mounting Brackets Without Damage
Press the adhesive brackets firmly against the wall. Hold them in place for at least 30 seconds. Allow the adhesive to cure for a few hours before hanging the rod. Avoid pulling or moving the brackets during this time. This careful process ensures a strong hold without wall damage.
Adding Support Without Drilling
Adding support without drilling is key for a strong closet rod. It protects your walls from damage. It also keeps your closet neat and functional. You can use clever tools and techniques. These methods hold the rod firmly in place. They avoid the need for screws or nails.
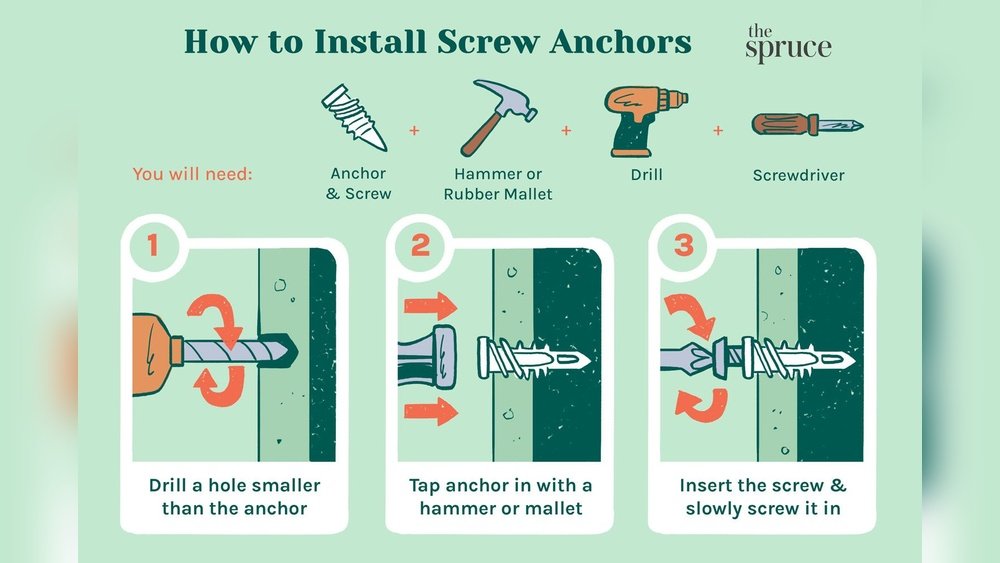
Using Wall-friendly Anchors
Wall-friendly anchors are great for holding closet rods. They stick to the wall without holes. Some use strong adhesive pads or hooks. Others use tension or pressure to stay fixed. Choose anchors made for drywall or plaster. Make sure they support the rod’s weight. Follow the product instructions carefully for best results.
Installing Closet Rod Supports
Closet rod supports add extra strength. These supports fit under or around the rod. Some clamp onto shelves or walls. Others use tension to hold tight. Place supports evenly along the rod length. This stops sagging and bending. Supports are easy to adjust or remove if needed.
Reinforcing Rod Stability
Reinforce the rod for long-lasting use. Use rubber grips or foam padding at contact points. This keeps the rod from sliding or wobbling. Check the rod’s level and adjust supports as needed. Test the rod by hanging a few items. Make sure it stays firm and steady under weight.
Troubleshooting Common Issues
Troubleshooting common issues helps keep your closet rod secure without drilling. Small problems can appear after installation. Fixing them quickly ensures your rod holds clothes safely. Follow these tips to solve frequent problems.
Rod Slipping Or Sagging
The rod may slip if it is not tight enough. Check that the rod fits snugly between the supports. Use rubber grips or foam padding to increase friction. If sagging happens, add a center support bracket. This prevents the rod from bending under weight. Ensure the rod is straight and properly balanced.
Adhesive Failure
Adhesive strips can lose stickiness over time. Clean surfaces well before applying adhesive. Avoid touching sticky areas with your fingers. Press firmly and hold the adhesive in place for several seconds. If failure occurs, replace with stronger adhesive or try a different brand. Keep the area dry and avoid adding weight too soon.
Weight Limit Exceeded
Closet rods without drilling have weight limits. Avoid hanging heavy coats or many clothes at once. Spread clothing evenly along the rod. Use lightweight hangers to reduce stress. If the rod bends or falls, reduce the load immediately. Consider installing extra supports or switching to a rod with a higher weight capacity.

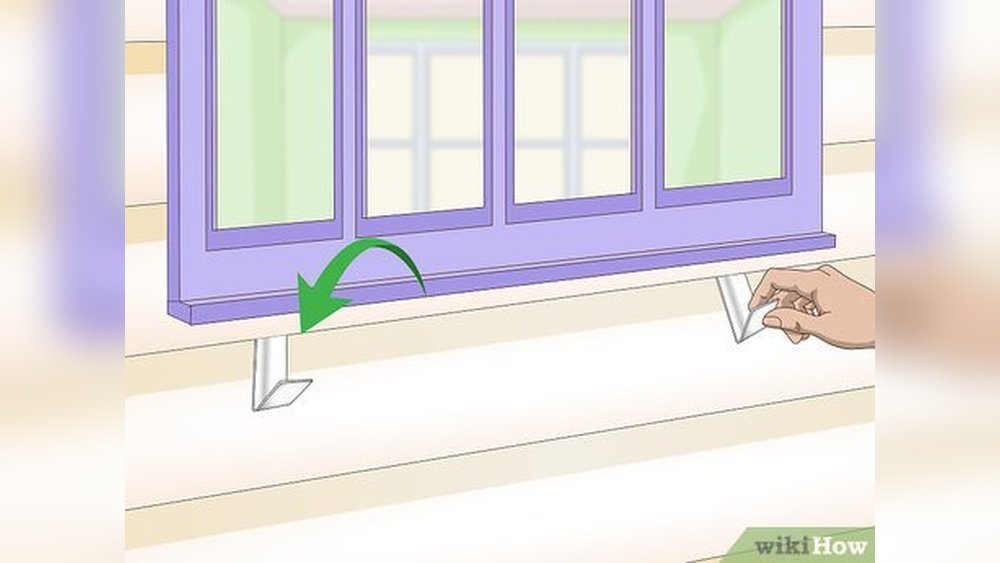
Credit: www.wikihow.com
Maintaining Your Closet Rod
Maintaining your closet rod ensures it stays strong and useful for a long time. Regular care prevents damage and keeps your clothes safe. A well-maintained rod holds clothes without bending or falling. Here are simple steps to keep your closet rod in good shape.
Periodic Stability Checks
Check the rod’s stability every few weeks. Gently shake the rod to see if it moves or feels loose. Tighten any loose brackets or supports carefully. A stable rod prevents accidents and protects your clothes. Don’t ignore small wobbles; fix them early to avoid bigger problems.
Cleaning And Care Tips
Dust the rod often using a soft cloth. Wipe away dirt or spills with a damp cloth and mild soap. Avoid harsh chemicals that can damage the rod’s finish. Dry the rod completely after cleaning to stop rust or mold. Clean rods look better and last longer.
Adjusting Rod Position When Needed
Adjust the rod if it sags or shifts. Loosen the brackets slightly to reposition the rod. Make sure it is level and fits tightly between supports. Re-tighten the brackets to hold the rod firmly in place. Proper positioning keeps the rod strong and your closet neat.
Credit: www.myrepurposedlife.com
Frequently Asked Questions
Can Drywall Anchors Hold A Closet Rod?
Drywall anchors can hold a closet rod if you use heavy-duty anchors and limit the rod’s weight. Secure brackets firmly.
How To Support A Heavy Closet Rod?
Support a heavy closet rod by installing a center bracket or support pole. Secure rod brackets into wall studs or use strong drywall anchors. Use a sturdy rod material like metal or hardwood to prevent sagging.
How To Install A Hanging Rod?
Measure the space, mark bracket positions on studs or use anchors. Drill pilot holes, attach brackets, and secure the rod. Ensure it’s level and stable.
How To Make A Hanging Closet Rod?
Cut a sturdy wooden dowel or metal pipe to closet width. Attach strong brackets to walls or shelf. Secure rod on brackets. Use tension rods or no-drill hangers for damage-free options. Ensure rod is level and firmly supported to prevent sagging.
Conclusion
Installing a closet rod without drilling saves time and avoids wall damage. Use tension rods or no-drill brackets for easy setup. Make sure the rod fits tightly between walls to hold weight well. Check the rod regularly to keep it secure.
This method works great for renters or quick closet updates. Enjoy a neat closet without the mess of drilling holes. Simple tools and a little care make this project easy and fast. Now your closet is ready for organizing clothes without any hassle.